


Free Edibles at $100 & Free prerolls at $150
You click the button on a new vape pen and a tiny light flashes back at you. Green. Or blue. Or red. Many users take a hit first and ask questions later.
That little light matters more than it looks.
On a good device, those colors are not decoration. They are the control panel for your whole session. The setting you choose changes how your oil heats, how the flavor comes through, how thick the vapor feels, and whether you get a smooth draw or a harsh one. If you use terpene-rich oil, the difference can be obvious in just a couple pulls.
A lot of confusion starts because people want one universal answer. There usually is not one. The better question is this. Why would you use one color instead of another? Once you understand that, vape pen color settings red blue green stop feeling random and start feeling useful.
You unbox a fresh all-in-one, tap the button, and the LED glows. You might think, “Cool, it turns on.” Then you hit it on whatever setting it came with and hope for the best.
That is how a lot of people end up overheating a nice oil on their first session.
Those colored lights became standard for a reason. Red, blue, and green settings spread after 2010 with variable voltage batteries, and by 2023, 82% of U.S. vape pens featured these tri-color indicators according to Vessel’s guide to vape pen power settings. The same source notes that this shift mattered because variable settings helped preserve flavor and reduced dry hits by 60% compared to fixed-voltage pens.
A vape pen is heating oil, not just turning it into visible vapor.
Different oils respond differently to heat. A terpene-rich extract can taste bright and layered at a lower setting, then flat or peppery when you push too much power through it. A thicker oil may need more heat before it starts performing the way you want. The light is your shortcut for changing that heat.
Consider cooking, for example.
Low heat keeps delicate ingredients intact. Medium heat gets you a balanced result. High heat pushes harder and faster, but it can also burn off what made the ingredient special in the first place.
Most confusion comes from three places:
Tip: If you paid for premium oil, treat the first few pulls like a taste test, not a contest.
Once you start reading the LED as a heat signal, your pen makes a lot more sense. Green, blue, and red are really just three different ways of saying, “How hard do you want to cook this oil?”
The easiest way to understand vape pen color settings red blue green is to think of a stovetop.
Green is the low simmer. Blue is the medium flame. Red is the high heat.
That is the whole game. You are matching heat to oil.

According to Mood’s guide to THC cart voltage, green is typically the lowest setting at 2.4V, blue is medium at 2.8V, and red is high at 3.3V. The same guide says a 2023 survey found 70% of users prefer green or low settings daily, with lower settings helping reduce burn complaints by 40%.
Green is where many people should start.
At this level, the pen is giving the oil a gentler warm-up. That matters if your cart is rich in terpenes and you want to taste what is inside. Lower heat usually gives you a smoother draw and lets the oil show more of its natural profile.
Green is a strong fit for:
If a customer asks me what setting to use without telling me anything else, green is usually the first answer.
Blue is the middle lane.
It adds enough power to create a fuller hit without instantly jumping into “too hot” territory. If green feels weak, blue often gives you the sweet spot between flavor and vapor, which is a setting many people land on once they know their cart can handle a little more heat.
Blue works well for:
Red is for harder pushes.
This setting makes the coil run hotter, which can help with thick oils or users who want a denser, stronger-feeling pull. The tradeoff is flavor. The hotter you go, the easier it is to mute terpenes or get a harsh edge.
Red can make sense for:
But red is also the setting most likely to make someone say, “Why does this cart taste burnt already?”
| Color | Typical Voltage | Best For | Ideal Oil Type |
|---|---|---|---|
| Green | 2.4V | Preserving flavor, smoother draws | Terpene-rich oils, live resin, lighter oils |
| Blue | 2.8V | Balanced vapor and flavor | Full-spectrum oils, medium-thickness carts |
| Red | 3.3V | Dense vapor, stronger hits | Thicker oils, distillate-style carts |
Quick takeaway: Start on green. Move to blue if vapor feels too light. Save red for oils that need more heat.
One thing to keep in mind. Not every brand maps colors the exact same way. Some devices swap blue and green. The colors almost always still represent low, medium, and high. If your pen came with instructions, trust the specific device map. If it did not, treat the light as a heat clue and start low.
A lot of pens use a simple click pattern. Once you learn it once, you can usually operate most button-based devices without guessing.
Many rechargeable pens follow a familiar setup:
Some devices cycle in the same order every time. Others blink before settling on the new color. If nothing changes, pause for a second and try the three-click sequence again a little faster.
Do not take a huge pull right away.
Use short draws first. You are checking three things:
If the draw is weak but the flavor is great, move up one step. If the flavor drops off fast, go back down.
Tip: One setting change can make a bigger difference than people expect. Give the pen a puff or two before deciding the color is wrong.
Some all-in-ones are draw-activated. You inhale, and the pen does the rest.
That can mean one of two things. Either the device uses a fixed voltage, or it hides the heat adjustment behind a less obvious command. If your pen has no visible button and no manual, do not force it. Search the product support page or compare your device features with a practical voltage explainer like this guide to the best voltage for THC carts.
Not every pen follows the same rules exactly.
If your device flashes but does not heat, the issue may not be the setting. It could be battery charge, a loose cartridge, or a contact problem. That is a troubleshooting issue, not a color-setting issue.
The main thing is simple. If your pen gives you control, use it. Those settings are there to help you match the hardware to the oil, not just make the light look different.
The best setting is not “the strongest one.” The best setting is the one that fits the oil and the mood you want.
This is the primary reason vape pen color settings red blue green matter, making the 'why' behind the choices useful.
Say you have a terpene-forward cart and the aroma coming off the mouthpiece already tells you this oil has character. You want to taste it, not roast it.
In that case, lower heat usually makes more sense. G Pen’s explanation of light colors and voltage notes that 2.5V, shown as blue on that device, can yield 20% to 30% higher flavor retention in live resin. The same source says 3.0V, shown as red on that device, risks 40% terpene loss above 420°F.
So if a cart is rich and expressive, start low and let the oil speak.
A flavor-first routine looks like this:
That approach is especially useful when you are opening a new cart and do not know how the oil behaves yet.
Sometimes you want more body in the hit without sacrificing the whole flavor profile.
That is where medium settings earn their keep. The same G Pen source says 2.75V, shown as green on that device, can increase CBG and CBN activation by 15% to 25% in full-spectrum oils. Medium heat can help a thicker or broader-spectrum oil open up while still avoiding the roughness that comes from going too hot too fast.
This is the setting I think of as “everyday reliable.” You still get flavor. You also get enough vapor to make the session feel substantial.
A balanced session usually feels right when:
Here is a good visual breakdown of how people think through those tradeoffs in practice.
Now let’s say the oil is thick, the room is cold, or you want a denser draw. Higher heat can help.
That same G Pen source says the highest setting, 3.0V on that device, maximizes THC conversion, and it also advises matching voltage to hardware. Coils under 1.8Ω may favor red for potency, while coils over 2.0Ω should stay on blue or green to avoid burnt hits.
A hotter setting is not automatically wrong. It is just more specialized. It suits thicker oil, lower-resistance hardware, or a user who wants a stronger push and accepts some flavor loss. If you are using a delicate oil, red may flatten it. If you are using a stubborn thick oil, red may finally wake it up.
Key takeaway: Match the setting to the oil, not your ego. Premium oil usually rewards patience.
The most stressful light is not a steady color. It is the blinking one.
A pen that flashes red, blinks repeatedly, or cycles through lights is usually trying to tell you something is wrong with power, connection, or airflow.
Before assuming the device is dead, do the simple checks.
A blinking light often looks dramatic. The fix is often boring.
On many pens, red flashing points to low battery or a connection problem. If the pen was working earlier and suddenly starts blinking red, charging is the first move.
If it still blinks after charging, clean the contacts and test the cartridge again. Oil residue can block a solid connection more easily than people realize.
That usually means one of these things:
If the oil level looks low and the pen produces almost nothing, it may be done. If you are not sure what “done” looks like, this guide on how to know if a cartridge is empty can help you confirm it before you keep troubleshooting the battery.
There is a point where repeated blinking, no heat, and no airflow usually means a hardware problem.
Replace the cartridge first if:
Replace or retire the battery first if:
Tip: Tighten cartridges gently. People often crank them down too hard, which can press the center pin out of alignment.
A calm test order saves time. Charge. Clean. Reconnect. Swap parts one at a time.
The best habit with any adjustable pen is simple. Start low and go slow. That protects flavor, helps you avoid harsh hits, and gives you more control over how each session feels.
If you rotate between carts, label them or keep them in separate spots so you are not guessing what is old, what is fresh, and what has been sitting around too long. Oil can change over time, especially if stored poorly.
If you want a quick refresher on shelf life, this article on whether carts can expire is a useful follow-up.
Respect the oil.
A premium cart is not meant to be blasted at the hottest setting by default. If the goal is clean flavor and a comfortable draw, lower heat usually gives you more room to enjoy what you bought.
Not always. Green or low heat is often the safest starting point for flavor, but some thicker oils need more power. If the vapor is too light after a couple short pulls, move up one level.
It can, depending on the oil and the hardware. High heat can work well for thick oils, but it is also more likely to dull flavor or create a harsher hit. Red makes the most sense when lower settings are not giving enough performance.
Color mapping is not perfectly identical across every brand. Many pens still follow a low-medium-high pattern, but the exact color order can vary. Check the device instructions when available, and if you do not have them, start with the lowest setting rather than guessing that a specific color means the same thing on every pen.
That usually means one of two things. The pen is fixed-voltage, or it is draw-activated and hides any adjustment options. In that case, you may not be able to change heat at all.
Yes. Lower settings usually put less strain on the battery during use, while higher settings can drain it faster. If you are trying to stretch a charge and keep flavor intact, lower heat is the better bet.
Check the basics first. The cart may be nearing empty, the oil may be old, the connection may be dirty, or the wick may have been overheated earlier. Once flavor gets cooked out, dropping the voltage does not always fully undo it.
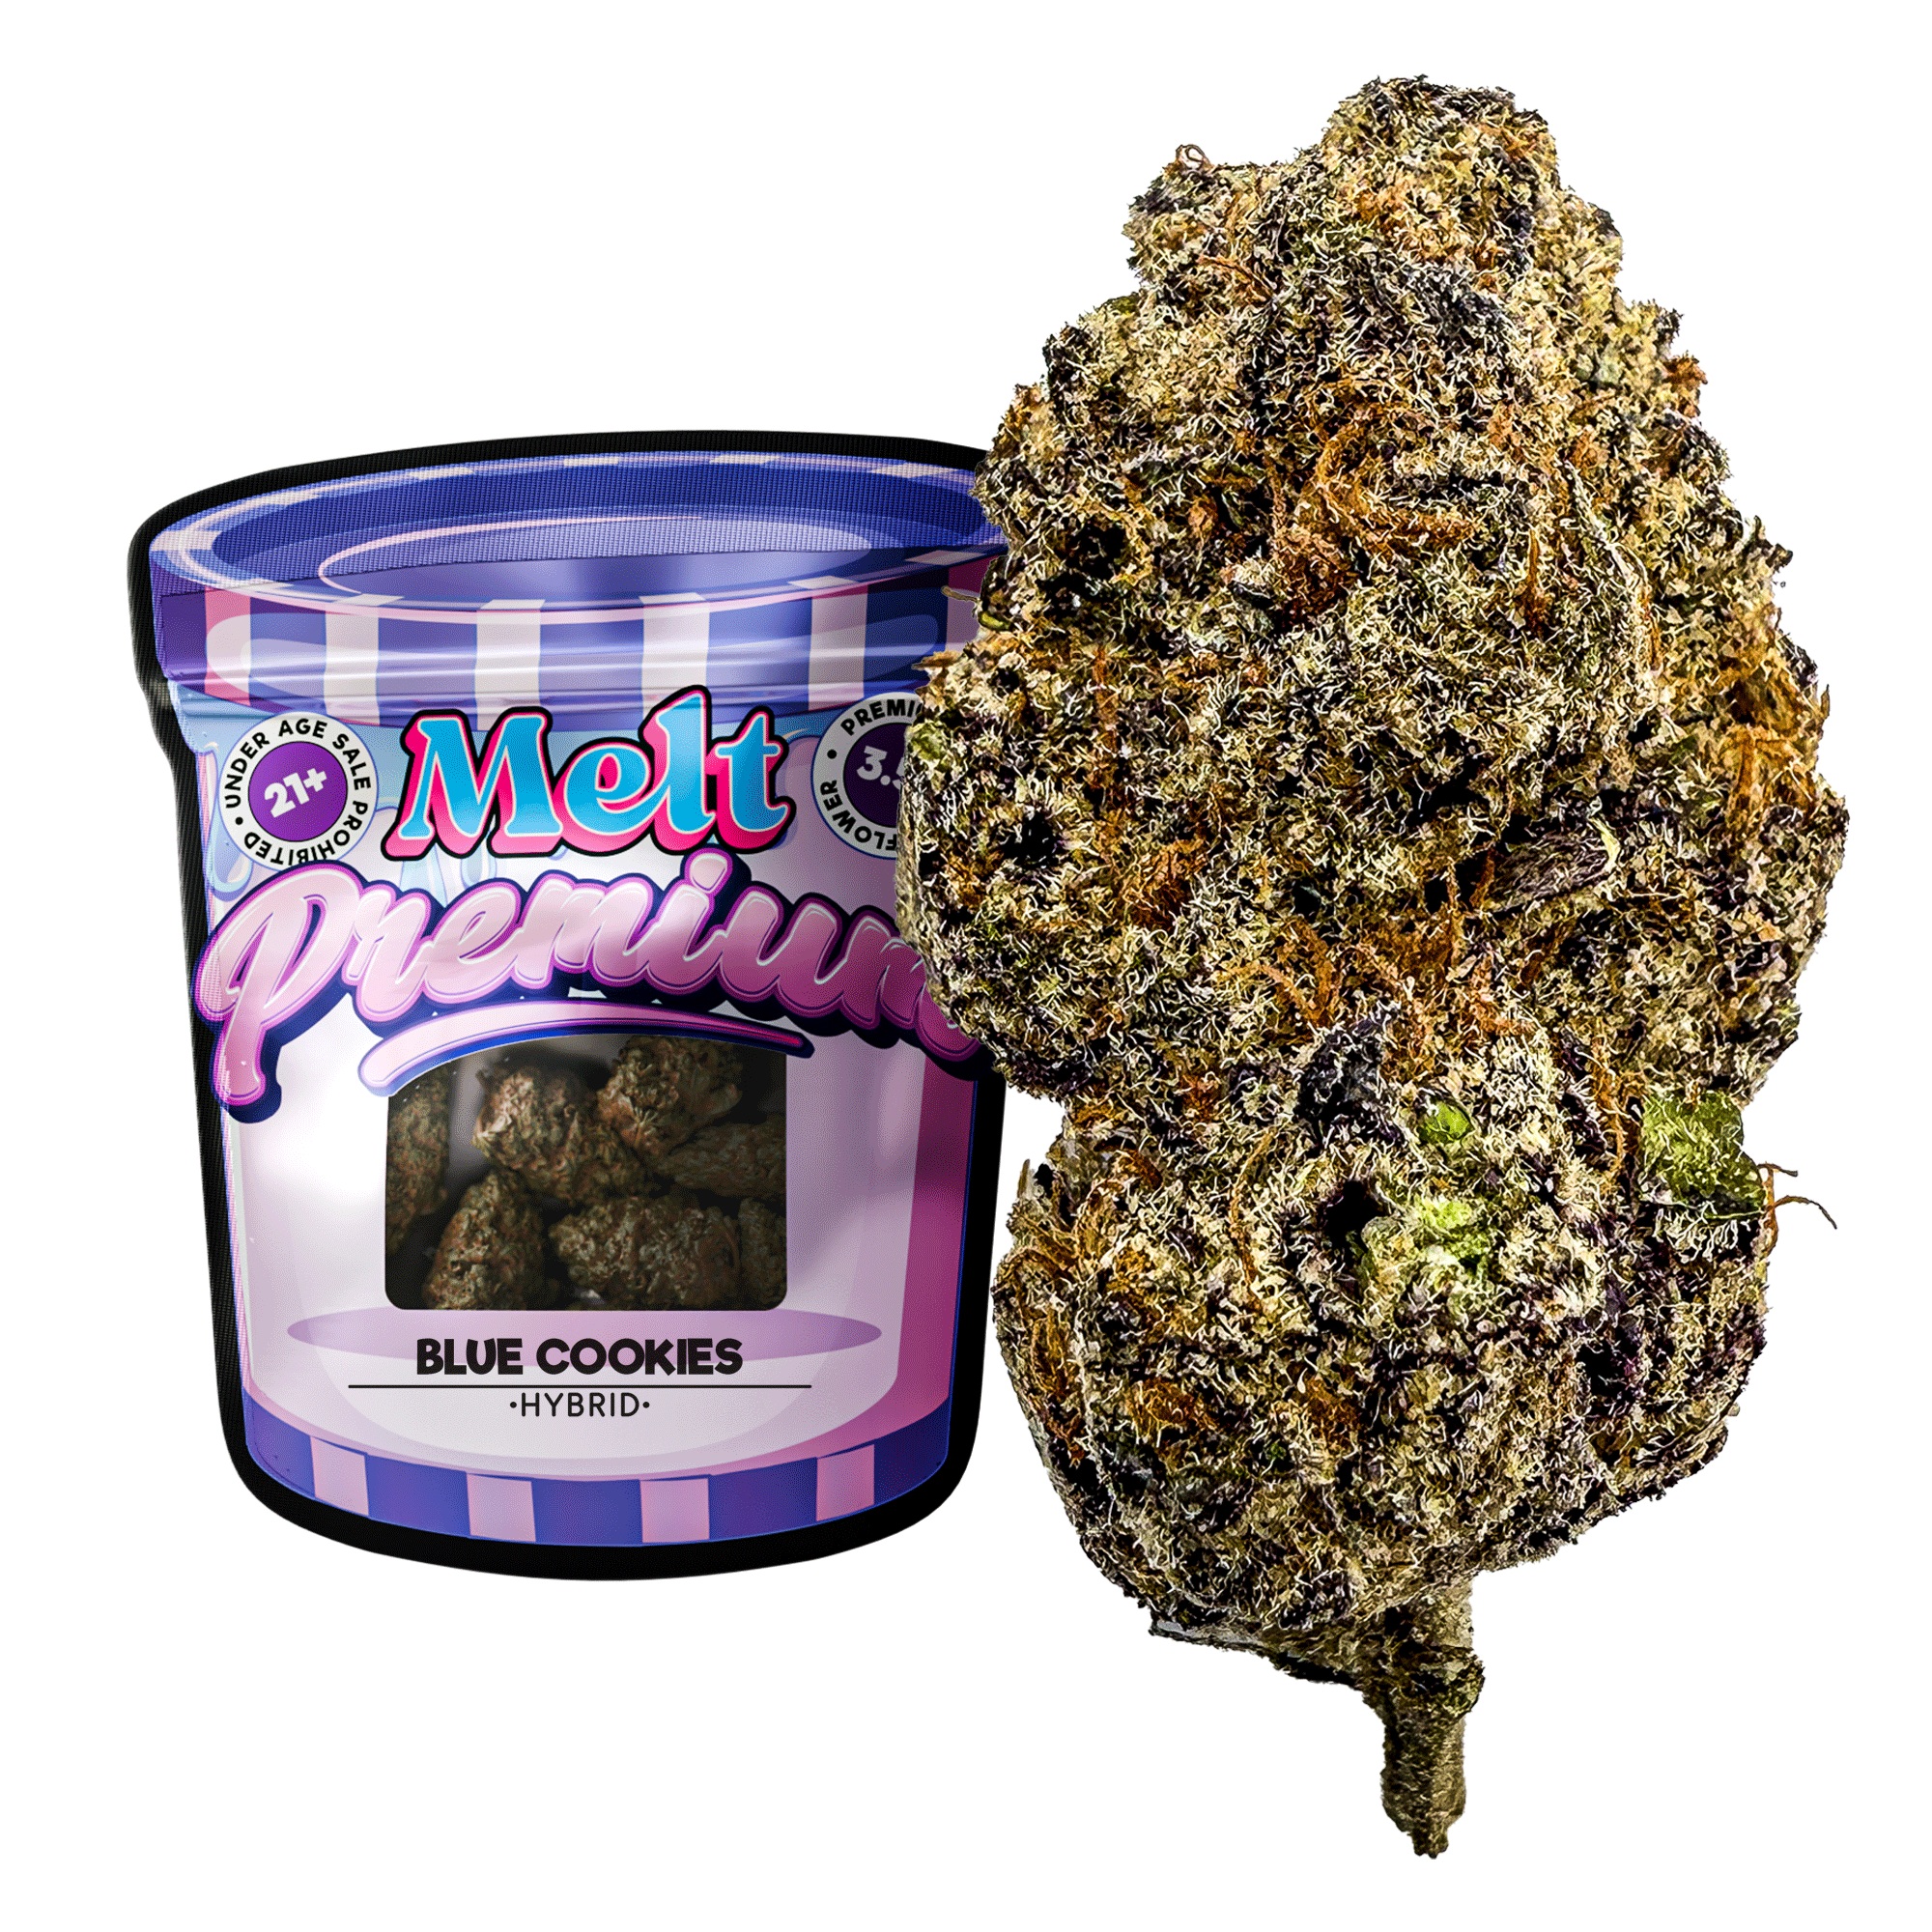
If you want premium hardware and oil to taste the way they should, Melt is worth a look. The lineup focuses on legal hemp-derived cannabinoids, strain-specific terpene profiles, and California-crafted products built for people who care about smooth flavor, reliable effects, and a more dialed-in session.
Your cart is currently empty.