


Free Edibles at $100 & Free prerolls at $150
A good coconut oil infusion all comes down to one simple bit of science: cannabinoids like THC and CBD are fat-soluble. They need a fatty carrier to get where they’re going, and coconut oil, packed with saturated fat, is the perfect ride.
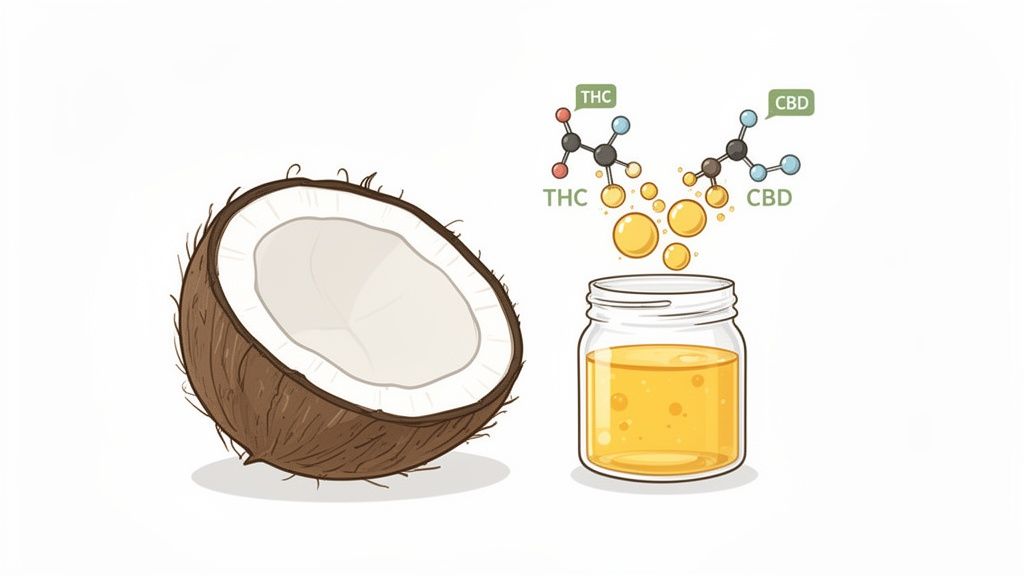
Ever notice how almost every cannabis edible recipe calls for coconut oil? It’s not a coincidence or a flavor thing. The secret is in its unique chemical makeup, which makes it an incredibly efficient partner for cannabinoids.
The science is simple. Infusing cannabinoids into coconut oil is one of the oldest tricks in the book because it has an unusually high saturated fat content—around 82–90%. For perspective, butter is only about 55–60% saturated fat, and most vegetable oils barely break 20%.
This strong bond is what makes a coconut oil infusion so effective. Cannabinoids like THC and CBD cling to the medium-chain triglycerides (MCTs) in coconut oil, making them more bioavailable. In other words, your body can absorb and use them more efficiently, leading to more consistent, predictable, and potent effects.
Before we dive into the methods, let's break down the core components that make or break an infusion.
This table sums up the essentials for getting the most out of your cannabis and coconut oil.
| Component | Why It Matters | Melt's Pro-Tip |
|---|---|---|
| High Saturated Fat | Cannabinoids are lipophilic (fat-loving), and more saturated fat means more "space" for them to bind to. | Stick with refined or unrefined coconut oil. Avoid MCT oil for high-heat infusions, as it has a lower smoke point. |
| Proper Decarboxylation | This heat-activated step converts non-psychoactive THCA into THC, "unlocking" its full potential. | Low and slow is the key. Rushing this step will destroy valuable cannabinoids and terpenes. |
| Full-Spectrum Flower | Using the whole flower preserves terpenes and minor cannabinoids, which work together to enhance the overall effect. | Don't grind your flower into a fine powder. A coarse grind prevents a grassy taste and makes straining easier. |
Getting these three things right from the start is the foundation for creating a potent, clean, and effective product every single time.
Think of the saturated fats in coconut oil as tiny delivery trucks. Each truck has plenty of room to pick up cannabinoid passengers—THC, CBD, you name it—and shuttle them directly into your system. Oils with less saturated fat have fewer "trucks," leaving valuable cannabinoids behind and resulting in a weaker infusion.
This is also where the synergy of the plant really shines. When you infuse full-spectrum cannabis, you're capturing more than just THC. You’re also bringing along all the terpenes and minor cannabinoids that contribute to what's known as the entourage effect. Coconut oil helps deliver this entire package intact.
The bottom line is this: Choosing coconut oil isn't just a suggestion; it's a strategic move to maximize the potency and effectiveness of your infusion. It ensures you get the most out of every gram of flower.
By understanding this crucial relationship between fats and cannabinoids, you’re setting yourself up for success. You’re not just following a recipe—you’re using science to create a superior product, whether it’s for edibles, topicals, or tinctures.
The quality of your finished coconut oil is decided long before you even turn on the stove. It all starts with the flower. Everything from the strain you pick to the quality of the plant material itself will shape the potency, flavor, and overall vibe of your final infusion.
Think about it like this: you can't make a gourmet meal with subpar ingredients. The same rule applies here. Premium, well-cured cannabis flower will always yield a much better infusion than old, dry shake.
When you're sourcing your flower, you generally have a few choices. High-quality THCA flower is your best bet for potent, flavorful results because it’s packed with the highest concentration of cannabinoids and terpenes. On the other hand, you could use trim (the sugar leaves and little bits trimmed off the main buds).
If you’re aiming for an exceptional product, starting with craft-grown THCA flower is the only way to go.
Don't just grab any strain. Every cannabis strain has a unique chemical fingerprint, including a specific mix of terpenes—the aromatic oils that give the plant its smell and taste. But they do a lot more than just provide aroma; they work with cannabinoids to steer the overall effects.
For example, a strain heavy in myrcene will likely create an infusion that feels more relaxing and sedative. A strain high in limonene, however, could give you a more uplifting and bright-feeling oil. This is why preserving these compounds is so important. If you want to dive deeper into how this all works, learning what full-spectrum cannabis is will give you a much better understanding of how to tailor the experience.
Choosing your strain is about setting an intention. Are you making an infusion for sleepy-time edibles or a daytime-friendly topical? The flower you pick sets the entire tone.
This brings us to the single most critical step in the entire process: decarboxylation. Raw cannabis doesn't actually contain much THC. It contains THCA (tetrahydrocannabinolic acid), which is non-psychoactive. To get the effects you're looking for, you have to convert that THCA into THC.
That conversion happens with heat. The process, called decarboxylation (or just "decarbing"), involves baking your flower at a low temperature for a specific amount of time. If you skip this, you’ll end up with a weak, basically useless infusion because the cannabinoids will still be in their raw, inactive form.
Don't let the science-y name throw you off. It's a simple process you can do right in your oven. Just make sure to grind your flower coarsely before you start—grinding it too fine will make your oil taste grassy and be a pain to strain out later.
Getting your decarb right is what unlocks your flower's full potential. Too much heat will destroy the delicate cannabinoids and terpenes, but not enough heat will leave valuable THCA unconverted. A little patience here makes a huge difference in your final product.
Once your flower is decarbed and ready, it's time for the main event: the infusion. This is where you gently coax all those activated cannabinoids and terpenes out of the plant and into the fat-rich coconut oil.
The secret to a great infusion is low, slow, consistent heat. If you go too hot, you risk destroying the very compounds you just worked so hard to activate. There are a few ways to get this done, each with its own pros and cons. We'll walk through three of the most reliable methods, from a simple set-it-and-forget-it approach to a high-tech option for the precision-obsessed.
Before we dive in, this quick visual shows how the prep work—selecting, grinding, and decarbing—is the foundation for a successful infusion.
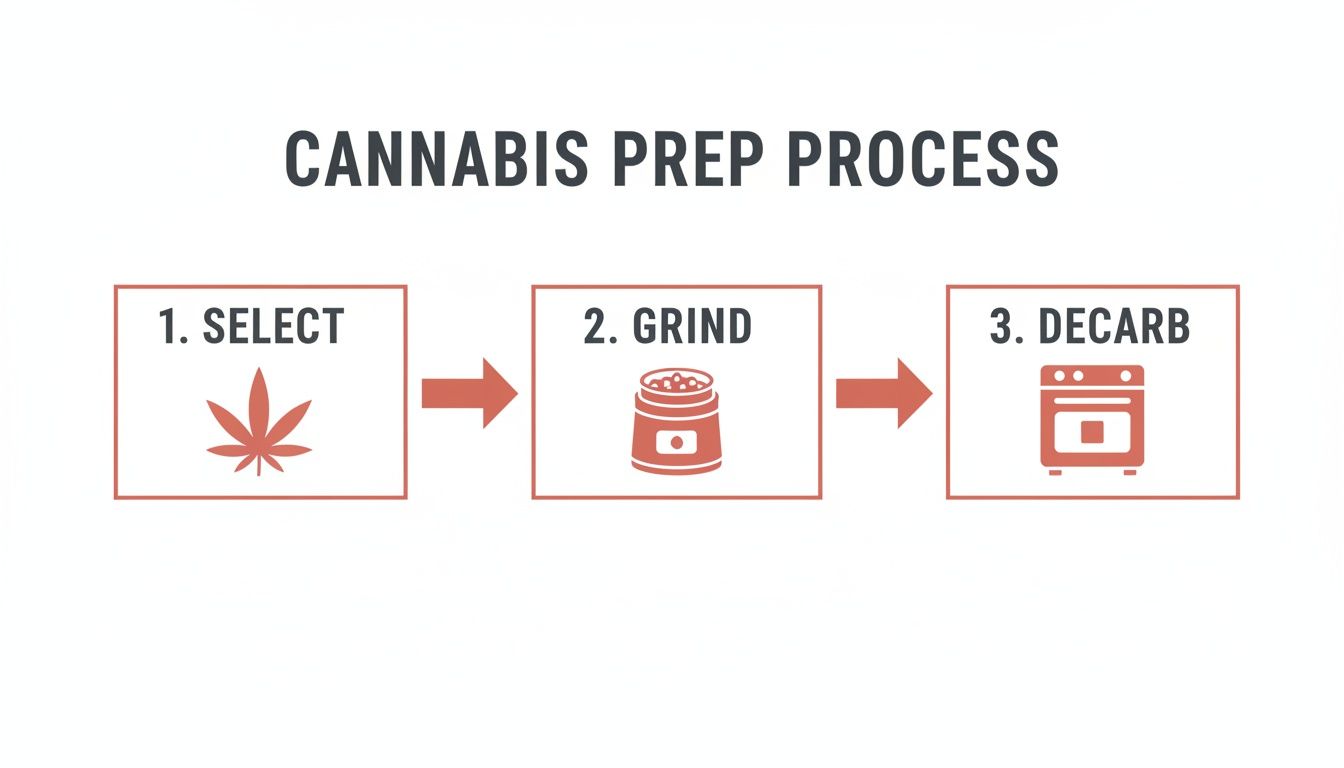
Getting this part right ensures your cannabis is fully activated and ready to give up all its goodness to the oil.
This is, without a doubt, the easiest and most hands-off way to make a potent infusion. A slow cooker is literally designed to hold a low, steady temperature for hours on end—exactly what we need.
Just combine your decarboxylated flower and coconut oil in the slow cooker. I usually start with a ratio of one cup of oil to every 7-10 grams of flower, but feel free to adjust this for your desired potency. Give everything a quick stir to make sure the plant material is completely submerged.
Set your slow cooker to its lowest setting, which typically hovers around 160-190°F (71-88°C). Pop the lid on and let it ride for 4-6 hours, giving it an occasional stir. While some folks let it go longer, four hours is usually plenty of time to get a solid extraction without degrading your cannabinoids.
Pro Tip: Worried about hot spots? Just place a small tea towel on the bottom of the slow cooker before adding your jar or bowl. It creates a perfect buffer between your infusion and the direct heating element.
The double boiler gives you much better temperature control than a slow cooker, but it does require you to be a bit more hands-on. This method uses gentle, indirect steam heat, which makes it almost impossible to scorch your oil.
No dedicated double boiler? No problem. You can easily rig one up by placing a heat-safe glass bowl over a larger pot filled with a few inches of simmering water. The trick is to make sure the bottom of the bowl isn't actually touching the water.
Add your coconut oil and decarbed flower to the top bowl and let the simmering water do its thing. You're aiming to keep the oil temperature between 160-200°F (71-93°C), so use a kitchen thermometer to keep an eye on it. Let it infuse for at least 2-3 hours, stirring every 30 minutes or so.
If you're looking for absolute, foolproof temperature control, nothing beats sous vide. This technique involves vacuum-sealing your ingredients and submerging them in a precisely controlled water bath. It’s the best way to ensure you never overheat your infusion, preserving every last one of those delicate terpenes.
First, set your sous vide circulator to 185°F (85°C). Combine your decarbed flower and coconut oil in a vacuum-sealable bag or a mason jar. If you're using a bag, get as much air out as you can before sealing. For a mason jar, just tighten the lid until it's "fingertip tight"—this allows a little room for air to expand.
Submerge the bag or jar in the water bath and let it infuse for 4 hours. The constantly circulating water guarantees a perfectly even temperature, eliminating any risk of hot spots.
| Method | Temperature Range | Infusion Time | Pros & Cons |
|---|---|---|---|
| Slow Cooker | 160-190°F (71-88°C) | 4-6 hours | Pro: Set it and forget it. Con: Imprecise temperature. |
| Double Boiler | 160-200°F (71-93°C) | 2-3 hours | Pro: Good control. Con: Requires more monitoring. |
| Sous Vide | 185°F (85°C) | 4 hours | Pro: Perfect precision. Con: Requires special equipment. |
No matter which method you picked, the final step is always the same: straining the plant material out of the oil. This is a critical step for getting a clean, smooth-tasting final product.
Let your infused oil cool down just enough to handle it safely, but make sure it’s still fully liquid. Drape a few layers of cheesecloth or a fine-mesh strainer over a clean glass jar. Now, slowly pour the oil through.
After most of the oil has dripped through, gather the cheesecloth and give it a gentle squeeze to get every last drop. Be careful not to squeeze too hard—you can push unwanted chlorophyll and plant matter into your oil, which gives it a grassy taste.
That's it! Your cannabis-infused coconut oil is now ready. It should have a beautiful golden-green hue and a rich, aromatic scent.
Making your own cannabis-infused coconut oil is awesome, but let's be real—dosing can feel like a total shot in the dark. Without sending a sample to a lab, how are you supposed to know how strong your final batch really is?
Good news: while you can’t get a perfectly precise reading at home, you can get a very reliable estimate. This takes the guesswork out of the equation and lets you dose your edibles and topicals with confidence. It all comes down to a simple formula using info you already have: your flower's THCA percentage, how much of it you used, and the volume of oil.
Okay, let's break down the math. It looks a little intimidating at first, but it’s much simpler than you think.
First, figure out the total milligrams of THCA you’re starting with. Just multiply the weight of your flower (in milligrams) by its THCA percentage. Don't forget, one gram is 1,000 milligrams.
Next, we have to account for the fact that the process isn't 100% efficient. During decarboxylation, you don't convert all the THCA into THC. A realistic conversion rate is about 88% (so, multiply by 0.88). You'll also lose a little bit during the infusion itself, so we'll factor in a conservative 90% extraction efficiency (multiply by 0.90).
Here’s the formula all laid out:
(Flower Weight in mg) x (THCA %) x 0.88 x 0.90 = Total THC in mg
Once you have the total milligrams of THC for the entire batch of oil, just divide that number by your total number of servings (like tablespoons or teaspoons) to get the potency of each dose.
Let's walk through a common scenario. Imagine you're using 3.5 grams of flower that your budtender said tested at 24% THCA, and you plan to infuse it into one cup of coconut oil.
Calculate Total Milligrams:
Apply Conversion & Extraction Factors:
Determine Potency Per Serving:
Boom. This simple math changes everything. You’re no longer guessing—you have a solid, repeatable baseline for creating edibles tailored to the exact experience you want.
To make things even easier, I've put together a quick-reference table for infusing one gram of cannabis. It's a handy cheat sheet for estimating your final dose.
This table helps you quickly estimate the final THC mg content per tablespoon based on the THCA percentage of your starting flower and how much oil you use.
| THCA % of Flower (1 Gram) | THC mg in 1 Cup Oil | THC mg in 1/2 Cup Oil |
|---|---|---|
| 15% THCA | ~7.4 mg per Tablespoon | ~14.8 mg per Tablespoon |
| 20% THCA | ~9.9 mg per Tablespoon | ~19.8 mg per Tablespoon |
| 25% THCA | ~12.4 mg per Tablespoon | ~24.8 mg per Tablespoon |
| 30% THCA | ~14.8 mg per Tablespoon | ~29.7 mg per Tablespoon |
Just find the THCA percentage of your flower on the left and see the estimated potency per tablespoon for the amount of oil you used. It's a great starting point for dialing in your recipes.
Even with these calculations, remember that every homemade infusion will have slight variations. Your own metabolism, tolerance, and even what you ate that day can change how edibles affect you.
If you're curious about how food can impact your experience, our guide on taking edibles on an empty stomach has some great insights.
Always, always start with a small dose. For beginners, 5 mg or less is a perfect starting point. The most important part? Wait at least two hours to feel the full effects before you even think about taking more. This patient approach is the key to finding your perfect dose and ensuring every experience with your homemade canna-oil is a great one.
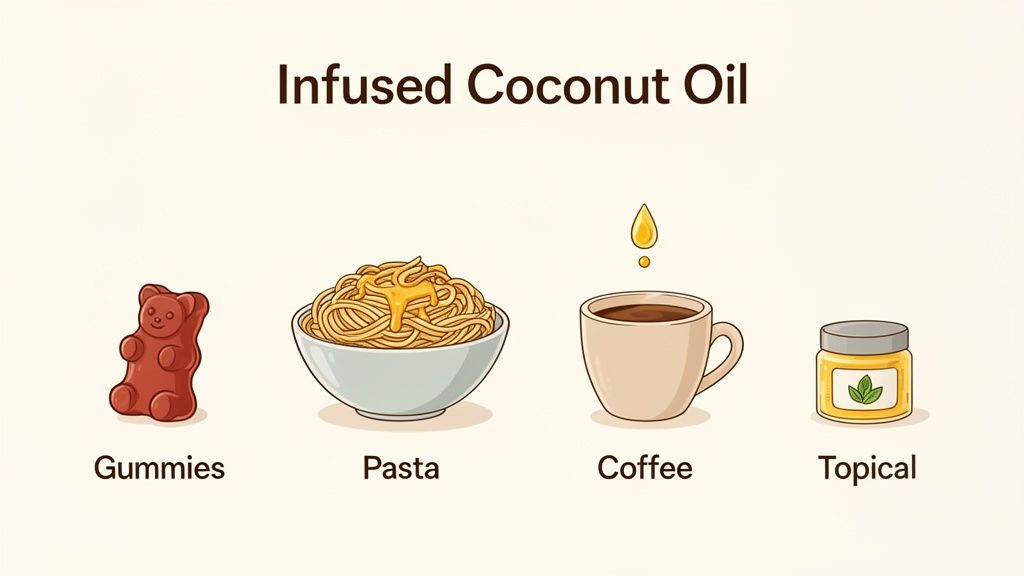
So, you’ve made a beautiful batch of cannabis-infused coconut oil. Now for the fun part. Classic brownies are great, but your homemade infusion is a gateway to so much more than just baked goods.
This oil is incredibly versatile. You can easily work it into your daily routine, turning ordinary meals and self-care rituals into something special. Think of it as a starting point, not a finished product.
One of the easiest ways to use your oil is in savory dishes. Since the cannabinoids are already activated, you can add it at the end of cooking to preserve both potency and those delicate terpenes that high heat can destroy.
The trick is to add the oil to dishes that already have some fat. It helps with flavor and cannabinoid absorption.
Your infusion isn't just for dinner. It fits perfectly into your morning routine or as a base for no-bake desserts.
A popular move is adding a measured amount to your morning coffee or tea. Just blend it in thoroughly to emulsify it, and you've got an easy "canna-coffee." The fat from the coconut oil can provide a smooth, sustained release to start your day right.
Want to make homemade gummies? Your infused coconut oil is the perfect foundational ingredient. Combine it with gelatin, fruit juice, and a sweetener to create accurately dosed edibles flavored exactly how you like.
Coconut oil's versatility extends way beyond the kitchen. Its properties make it an excellent base for homemade topicals that offer localized relief without the psychoactive effects.
You can create soothing balms by melting your infused oil with some beeswax and adding essential oils like lavender or peppermint for extra benefits.
This is part of a much bigger trend. Infusions are bridging the gap between wellness, cosmetics, and beverages. In fact, analysts forecast the global CBD‑infused cosmetics market to grow by about USD 10.64 billion between 2023 and 2028, with hemp-based oils leading the way. You can read the full research on how infused oils are shaping the market.
By exploring these different uses, you’ll see just how valuable a single homemade infusion can be.
You’ve done the hard part and made a beautiful batch of infused coconut oil. Now, let’s make sure it stays potent and safe. Proper storage is everything—your biggest enemies are light, heat, and air. All three will break down the cannabinoids and terpenes you worked so hard to preserve, leaving you with weak, disappointing oil.
Your best bet is a dark, airtight container. I’m a big fan of amber or other dark-colored glass jars because they’re great at blocking out damaging UV light. For short-term use, just tuck the jar away in a cool, dark spot like a kitchen cabinet or pantry. Stored this way, your oil should stay good for several months.
If you want to stretch its shelf life, pop it in the fridge. This easily extends its freshness to a year or more. The oil will solidify when it’s cold, but that’s totally normal. And for those huge batches, the freezer is your friend. Freezing can keep your infusion potent for years with almost no loss in quality.
Just as important as storage is labeling. Seriously, don’t skip this. It’s the single best way to prevent someone from accidentally eating it, especially if you have kids, pets, or even just roommates. Make your label big, bold, and impossible to ignore.
Your label needs to have:
Always store your infused creations far out of reach of children and pets. A locked box is even better. Treat your homemade infusions with the same respect you would any prescription medicine.
Navigating cannabis laws can feel like a minefield. Federally, anything made from hemp with less than 0.3% Delta-9 THC is generally okay thanks to the 2018 Farm Bill. But state laws, especially around things like THCA, can be a completely different story.
It’s on you to know the rules in your area before you start making infusions. Laws are always changing, so do a quick search to make sure you’re up-to-date. Staying safe and compliant is priority number one.
Even after you've made a few batches, some questions always seem to come up. Let's run through a few common issues to make sure you're feeling 100% confident in your finished oil.
This is probably the most common question I get, and it almost always comes down to two things. You either ground your flower too fine, which releases a ton of chlorophyll, or you squeezed the life out of the plant material after straining. Remember, a gentle press is all it takes to get the good stuff out without that fresh-cut-lawn flavor.
If your oil isn’t hitting as hard as you expected, the problem is almost always incomplete decarboxylation. Most home ovens are notoriously inaccurate, so what you think is 240°F could easily be 220°F. An oven thermometer is your best friend here. If you under-heat the flower, you're not converting enough THCA into psychoactive THC, leaving you with a weaker final product.
It’s easy to get these two mixed up, but they work in fundamentally different ways.
The bottom line is simple: use your infused coconut oil for making long-lasting edibles and soothing topicals. Keep tinctures in mind for when you need a fast-acting dose.
I see this question a lot. While you technically can run a second infusion with the leftover flower, the return is pretty minimal. A proper, hours-long infusion pulls out the vast majority of the cannabinoids. A second run usually isn't worth the time and effort for the tiny amount you might get back.
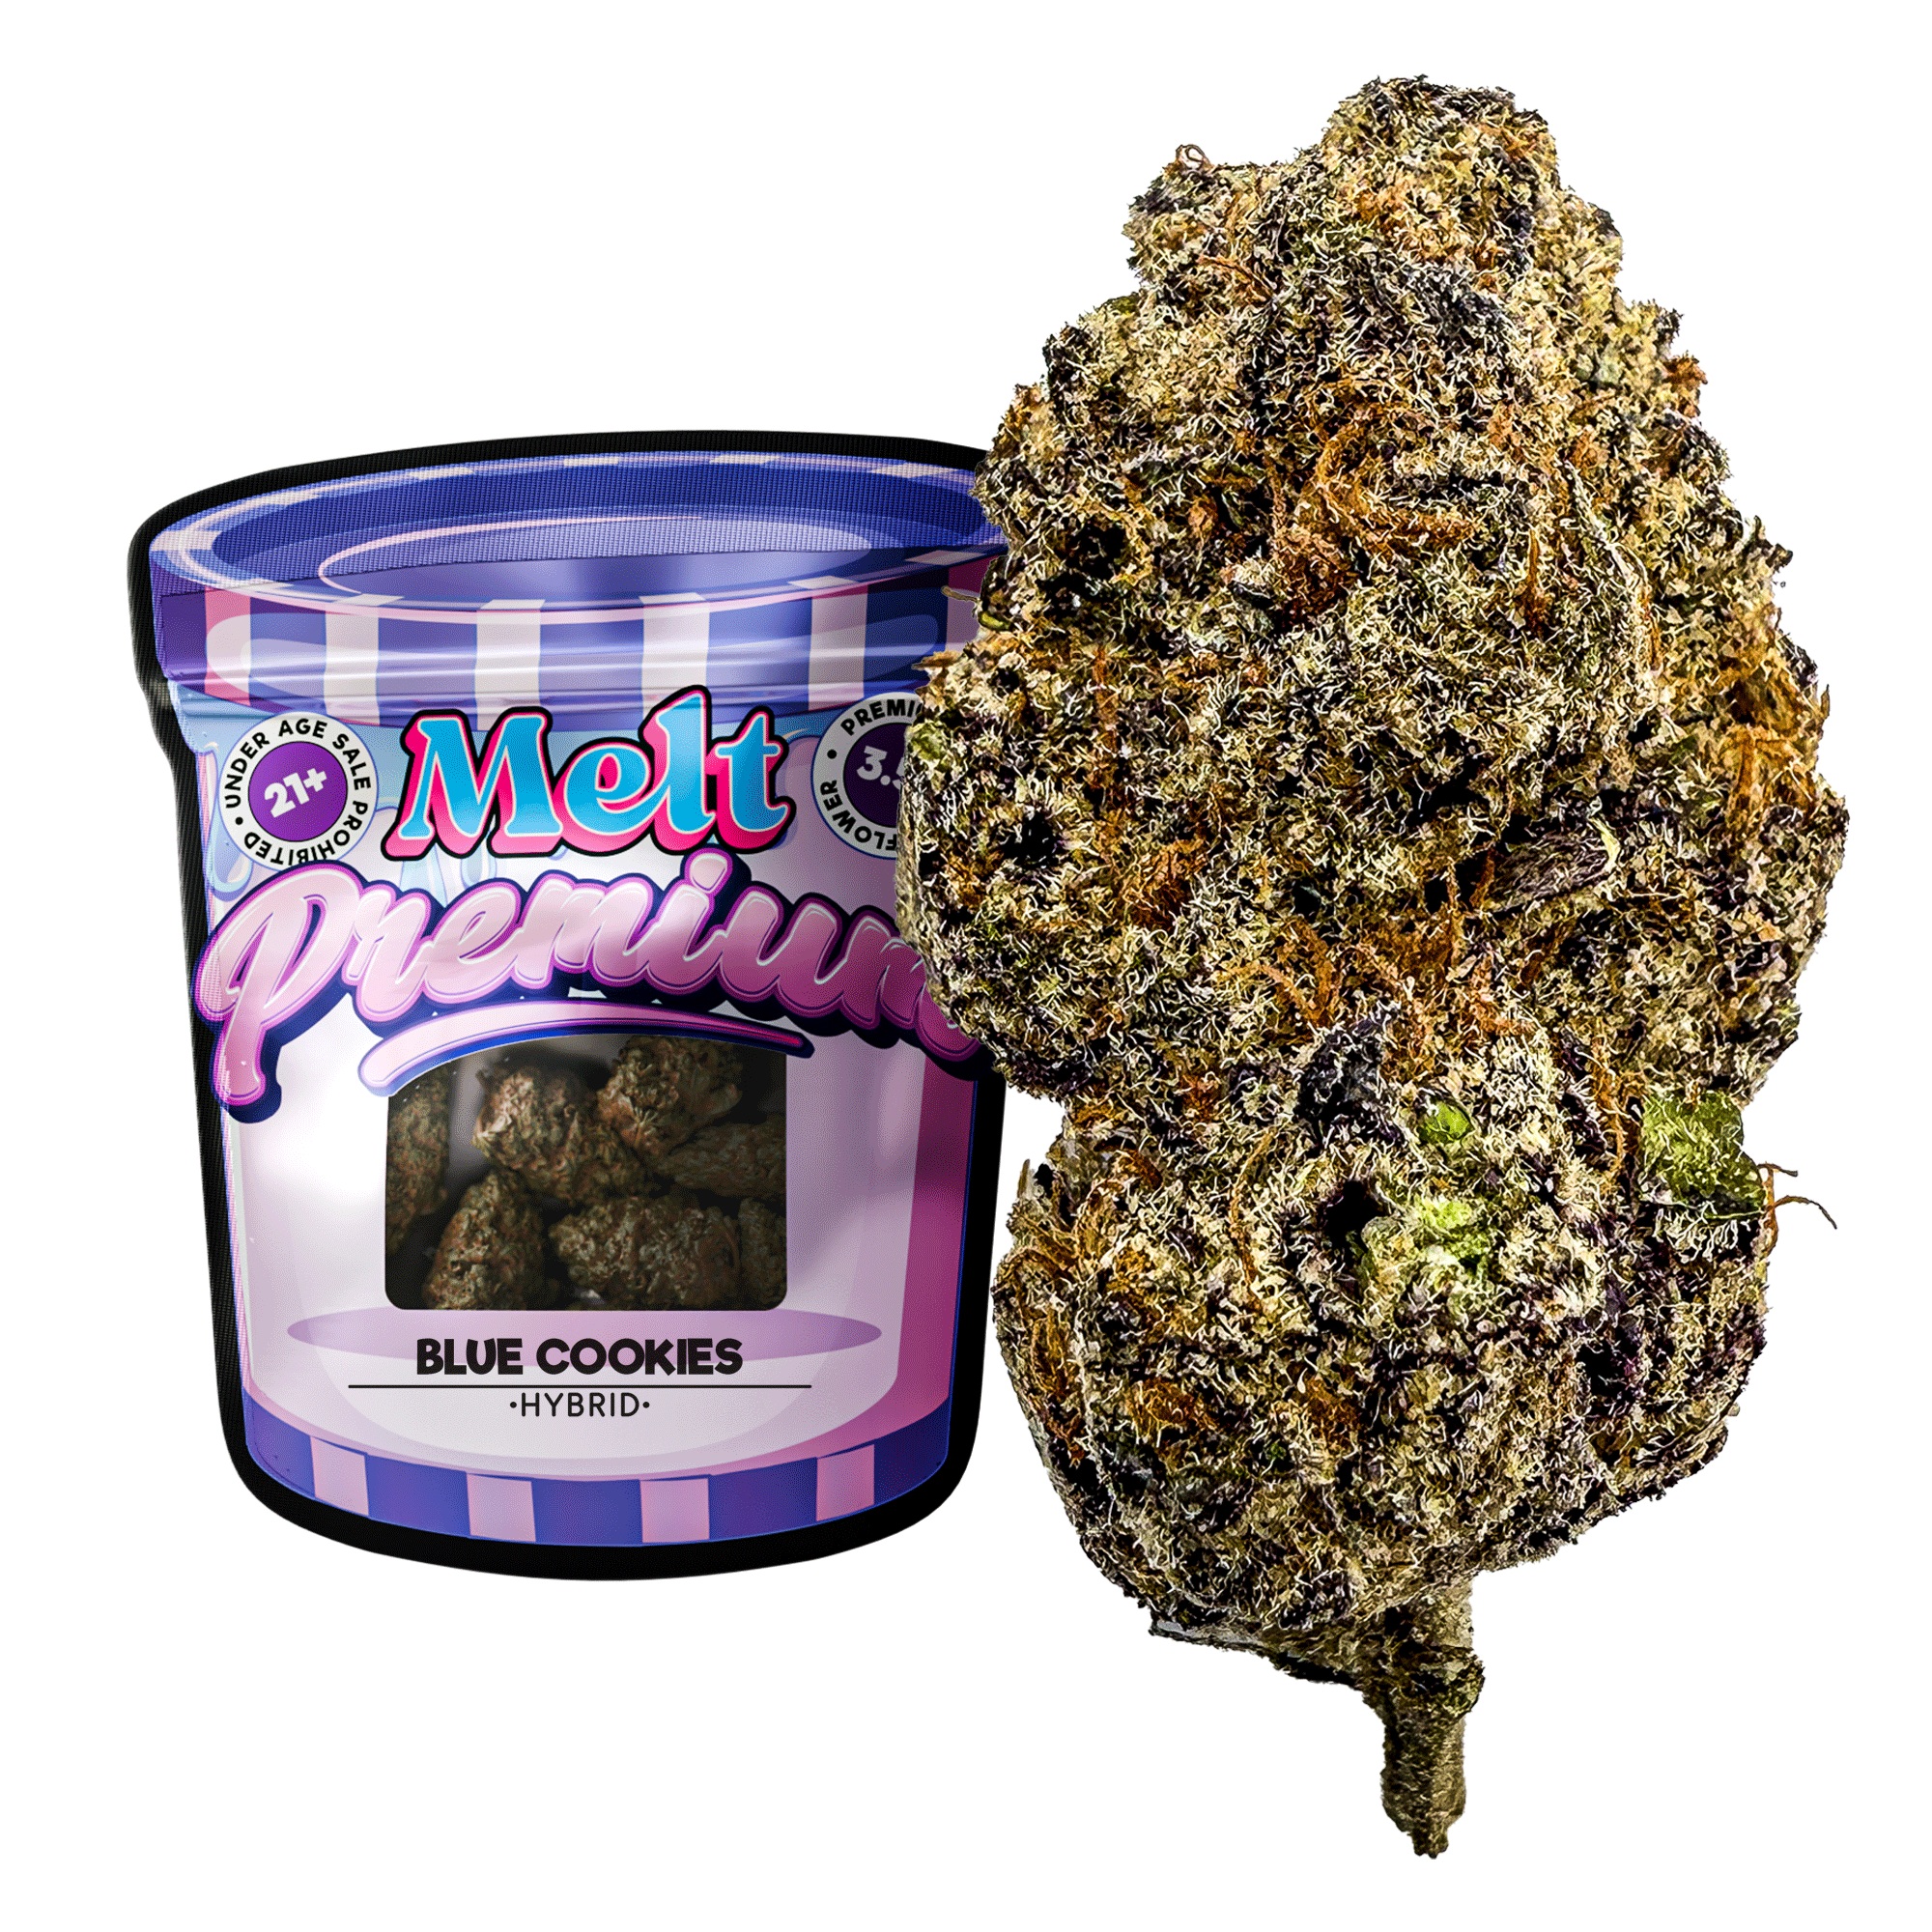
Ready to start your infusion with top-tier flower? Melt offers premium, lab-tested THCA flower that’s perfect for creating potent and flavorful infusions right at home. Check out our curated collection at https://meltofficial.com and take your creations to the next level.
Your cart is currently empty.