


Free Edibles at $100 & Free prerolls at $150
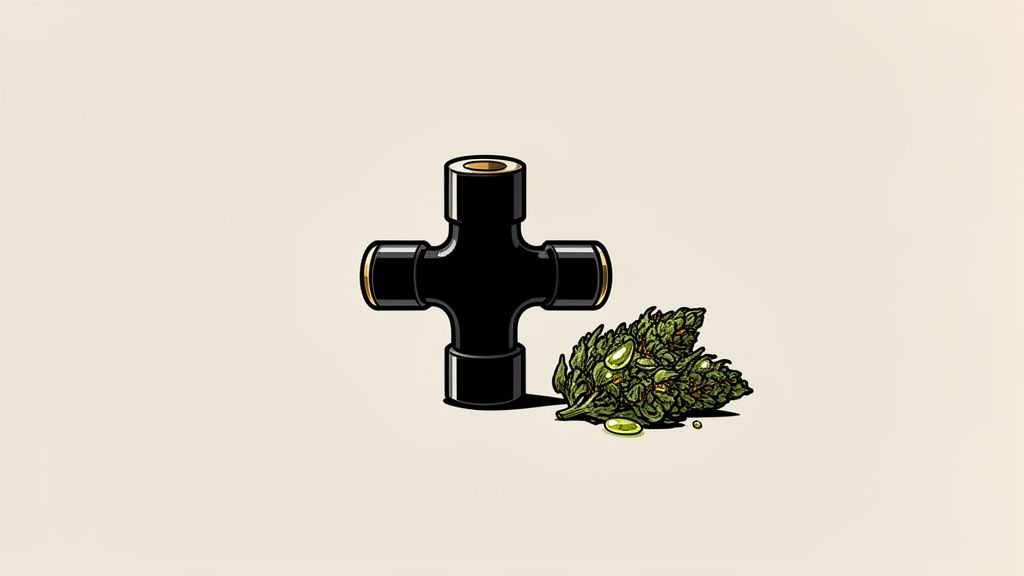
To roll a cross joint, you basically build one big "body" joint and a smaller, skinnier "arm" joint. You then have to carefully poke a hole through the main body, slide the smaller joint through it, and use extra gum strips to seal up the intersection. What you're left with is a three-ended, totally smokable piece of art.
It's a legendary roll that takes a bit of patience and some minor engineering skills, but it's well worth the effort.
The cross joint is way more than just a party trick; it’s a true mark of cannabis craftsmanship. It really stands out as a symbol of creativity and dedication in the rolling community, turning a regular session into something memorable.
It might look complicated, but learning the history behind it makes the whole process even more rewarding. Its journey from a niche symbol of rebellion to a celebrated ritual is deeply rooted in pop culture. This technique isn’t just for showing off—it’s about appreciating the artistry involved and elevating your entire experience.
Let's be real, the cross joint blew up thanks to the stoner films that pushed it into the mainstream. Before that, it was an underground legend, something you'd only hear about from seasoned smokers.
Ever since the 2008 stoner comedy classic Pineapple Express hit theaters, the cross joint went from an obscure trick to a must-try ritual. That film alone sparked a 300% surge in Google searches for 'how to roll a cross joint' in the first month after it came out.
In California, where the cannabis market is projected to hit $8.5-9 billion in sales by 2025, over 800 licensed dispensaries now stock specialty joints. This trend has helped boost preroll consumption by 18% year-over-year. You can learn more about the evolving cannabis industry and its statistics.
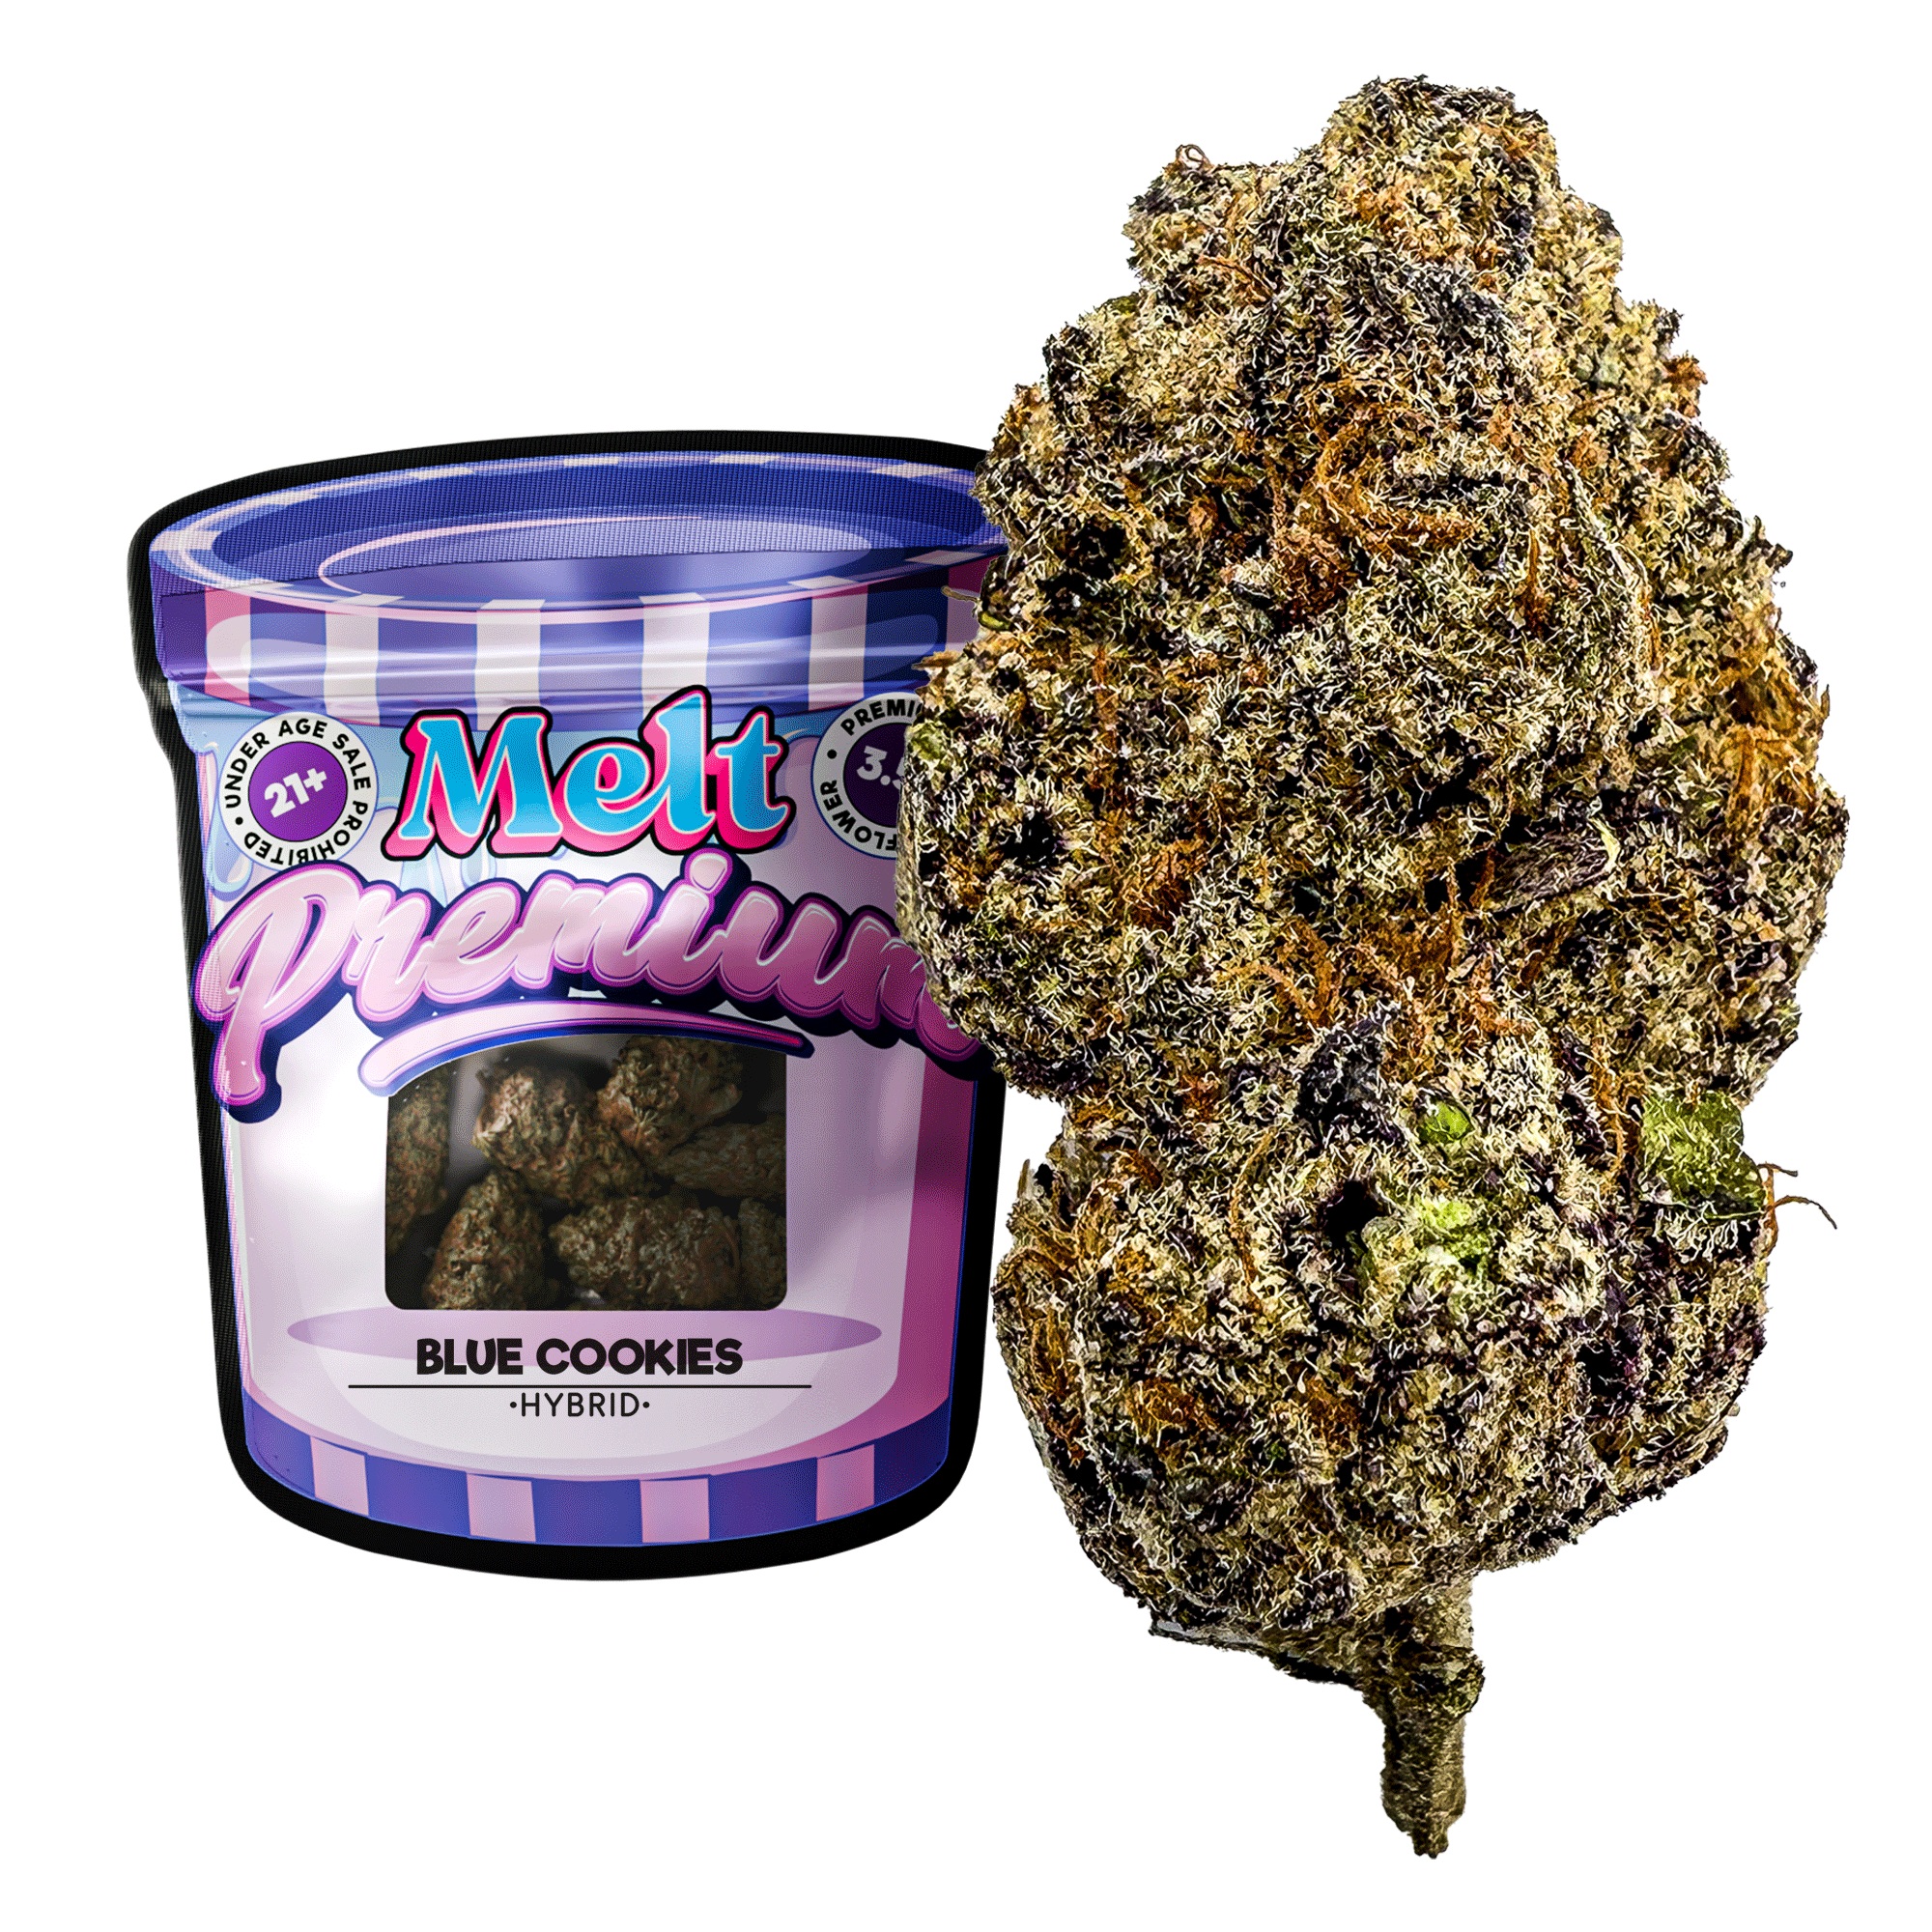
The success of a roll this intricate really comes down to the quality of your materials. The right flower, in particular, makes all the difference.
Mastering the cross joint is a rite of passage for many enthusiasts. It’s a blend of patience, technique, and quality ingredients that turns a simple smoke into a work of art.
This guide is your shot at turning a legendary concept into a skill you can actually be proud of.
Before you can build a masterpiece, you need the right materials. Rolling a cross joint isn't something you can just wing with whatever you have lying around. Each piece of your kit has a purpose, and getting it right from the start is the difference between a work of art and a frustrating mess.
Think of it as setting up your workshop. A clean, flat surface is non-negotiable—it keeps your flower contained and your focus sharp. Having everything laid out and ready to go makes the whole process smoother and, honestly, a lot more fun.
Here’s a quick rundown of everything you’ll need to have on hand. Don't skip any of these—they all play a crucial role in getting a clean, even burn.
| Item | Recommended Type | Purpose in Rolling |
|---|---|---|
| Main Rolling Paper | King Size | Provides the length and structure for a sturdy main body. |
| Cross-Arm Paper | 1 1/4 Size | Smaller and thinner, perfect for the arm that gets threaded through. |
| Cannabis Flower | High-quality, sticky THCA flower | The resin helps the ground material bind together, creating a solid joint. |
| Grinder | A quality multi-piece grinder | Creates a fluffy, even grind for a slow, consistent burn. Avoid powder! |
| Piercing Tool | Needle, pin, or paperclip | Essential for making a clean hole for airflow without tearing the paper. |
| Crutch/Filter | Cardstock or pre-made tip | Gives the main joint stability, improves airflow, and blocks loose flower. |
Getting these items ready ahead of time is the first real step to a successful roll.
Let's talk paper strategy. You need two different sizes, and this is a pro tip you don't want to ignore. For the main body—the long part of the cross—grab a King Size paper. You need that extra real estate to build a solid foundation that won’t buckle when you insert the smaller joint.
For that smaller "cross-arm," a standard 1 1/4 size paper is the way to go. It’s the perfect proportion to fit snugly through the main joint without being too bulky or too flimsy.
But honestly, the real secret ingredient is your flower. You absolutely need a high-quality, craft THCA flower. Why? Its natural stickiness and resinous texture are what will hold your joint together. It helps everything bind, preventing that dreaded looseness or collapse halfway through.
If you're new to this kind of flower, checking out different kinds of THCA pre-rolls can give you a good feel for the consistency you should be aiming for.
Okay, beyond the basics, a few simple tools will elevate your rolling game from amateur to expert.
Alright, this is where the fun begins. Putting together a cross joint feels like a true art form, but don't be intimidated. It's really just a matter of patience and a steady hand. We'll break it down into simple, manageable steps so anyone can get it right.
First, we’ll craft the two separate pieces—the main joint and the smaller cross-arm. Then comes the delicate part: joining them together into one seamless creation. The whole thing really comes down to rolling two solid joints to start. The big one is your foundation, and the smaller one needs to be thin but sturdy enough to thread through without crumbling. Just take your time here. A good roll is everything.
The image below shows the basic supplies you'll need to get started. It doesn't take much.
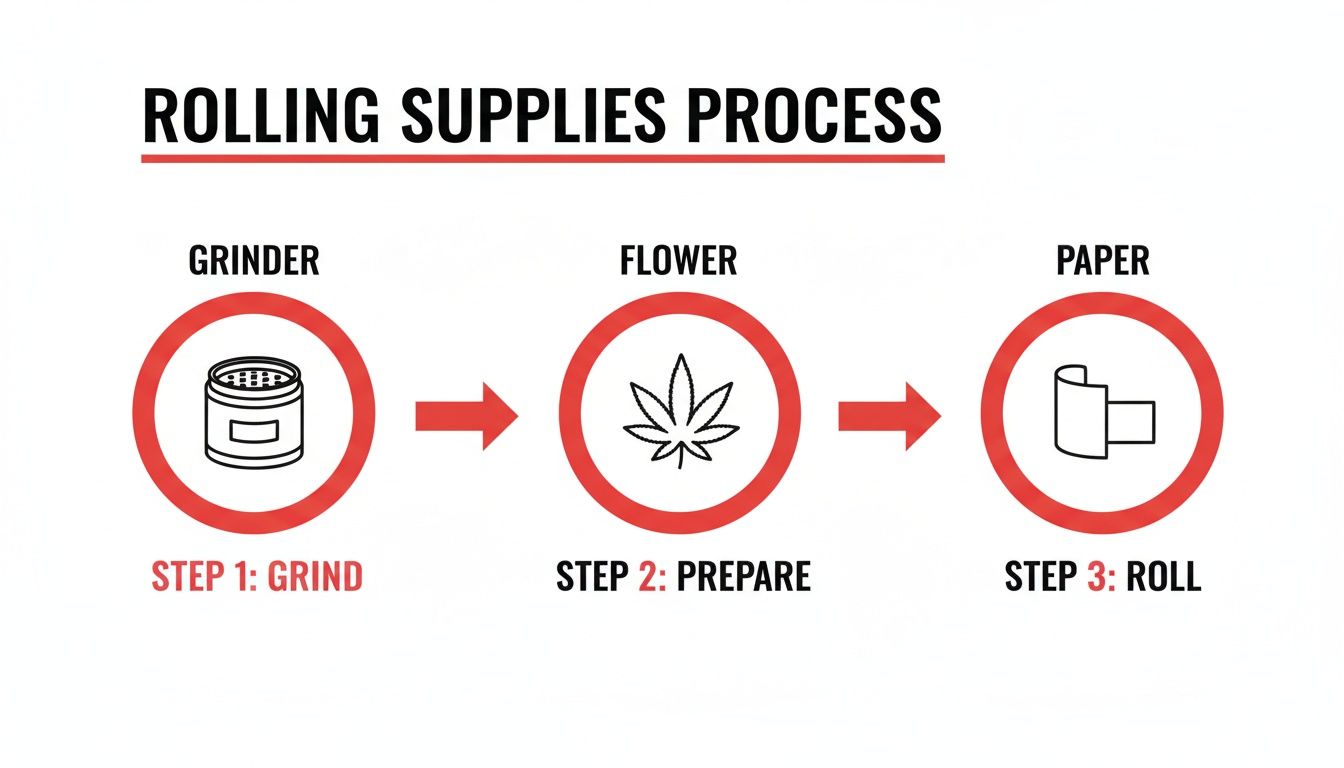
As you can see, all it takes is your flower, a grinder, and some rolling papers. These are the building blocks for any great roll.
Let's start with the larger of the two joints, which will be the vertical part of the cross. Grab a King Size rolling paper and roll a joint that’s firm but not packed so tight it won't draw. You’re looking for a good middle ground—dense enough to hold its shape when you pierce it, but with enough airflow to burn smoothly.
Think of this first joint as the spine. If it's weak or flimsy, the whole thing will fail. Take your time and get it just right.
Next up is the horizontal piece. A smaller 1 1/4 size paper is perfect for this. This joint needs to be noticeably thinner and more compact than the main one you just rolled.
This time, don't use a filter—you'll be lighting both ends. Roll it straight and seal it up tight. The goal here is a sleek, sturdy little rod of a joint that can slide right through the main body without bending or breaking.
A common mistake I see is making the cross-arm too thick or rolling it too loose. You're aiming for something dense and pencil-thin. It makes the piercing and assembly stages a whole lot easier, trust me.
Once you have both joints rolled and ready, you're set for the most critical part.
This is the part that requires a steady hand. Grab something to pierce with—a needle, a pin, or even an unfolded paperclip will do the trick.
Your creation should now look like a proper cross. The final step is to make sure it's completely airtight so it’s ready to fly.
A perfect seal is what makes or breaks a cross joint. Without one, it’ll burn unevenly and probably fall apart halfway through. All you need are the gum strips from a couple of spare rolling papers.
Carefully tear or cut the gummed edge off two or three extra papers. Lick the strips and wrap them diagonally around the intersection where the two joints meet, creating an "X" pattern that reinforces the connection. Cover every single gap to make sure the seal is airtight. Be thorough. Any leak will mess up the burn.
Let the gum strips dry for a minute to set, and you're done. Your masterpiece is complete.
Even with the best instructions, your first few cross joints might come out a little… quirky. Don't sweat it. Rolling these things is a skill, and like any craft, it takes a bit of practice to get right.
The good news is that most problems are super common and easy to fix. Think of each attempt as practice—learning the little details is what separates a floppy, uneven roll from a masterpiece that burns perfectly from all three ends.
This is easily the most common issue. You get everything assembled, but the intersection where the two joints meet is weak and shaky. A loose connection isn't just an aesthetic problem; it creates air leaks that will completely ruin the burn, causing it to run down one side or just fall apart mid-smoke.
If you can see a gap or feel a draft when you take a gentle test puff, it’s time for some reinforcement.
A solid, rigid connection is the backbone of a great cross joint. If it feels flimsy, it is. Take the extra time to secure it before you even think about reaching for a lighter.
So you’ve built your masterpiece, you light it up, but one arm burns way faster than the other. Or maybe the draw feels super tight and restricted. This is classic airflow trouble, and it usually boils down to two things: how you packed it or a blocked air path.
The secret to that perfect, cinematic burn is unobstructed airflow. If smoke can't travel freely from the arms into the main body, the joint will canoe, go out, or just won't hit right.
First, check your pack. Did you pack the main joint way tighter than the smaller one? Inconsistent density is a frequent culprit. You're aiming for that same firm-but-springy feel in both. Also, double-check that you poked that crucial hole through the center of the smaller joint before you slid it through. Forgetting that tiny step is a guaranteed way to block the smoke's path.
The cross joint has roots in the 1970s California scene, but its modern fame is tied to the legal preroll boom. Informal surveys show a huge gap in burn efficiency—pros hit about a 92% success rate, while amateurs hover around 65%. The difference almost always comes down to mastering these tiny airflow details. It’s also why many people now opt for expertly crafted ready-to-smoke options. You can find more insights on the rise of the cannabis industry on payboticfinancial.com.
Ready to level up? These are the little tricks that experienced rollers use to avoid those common frustrations and get a perfect cross joint on the first try.
With these troubleshooting tricks and pro tips in your back pocket, you'll be well on your way to rolling a flawless cross joint that impresses everyone in the room.
You’ve done the hard work, and now it’s time for the payoff. But don't rush this part—lighting a cross joint is an art form in itself. Getting it right is the key to that iconic, three-pronged burn that makes the whole effort worth it.
If you mess this step up, one side will burn way faster than the others, and the whole effect is ruined.
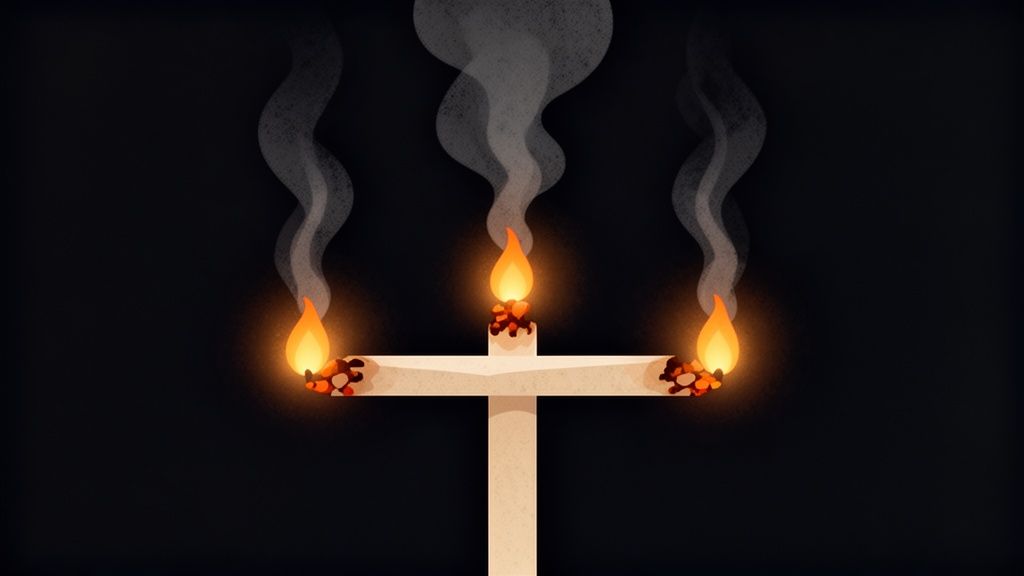
The secret is to light all three ends at the exact same time. This is what guarantees an even burn down to the intersection point. The easiest way to pull this off is with two lighters (one in each hand) or by asking a friend to help out. A torch lighter also works if you’re quick on your feet.
Ready? Hold the joint horizontally. Use one lighter to get an end of the cross-arm going, then immediately move to the other end. Once both arms are lit, bring your third flame (or just one of the lighters you're already using) to the main tip.
Take a few slow, gentle puffs to help the embers catch evenly. You want to see all three tips glowing a steady red before you take a real hit.
The goal is to have the side arms burn down and meet the main joint at the exact same moment. This synchronization creates a massive, powerful draw as the three smoke streams converge, delivering an experience unlike any standard roll.
Don't underestimate this thing. The multi-directional smoke flow of a cross joint is seriously potent. Since you’re getting a combined hit from three burning ends, it’s much more intense than your average J. Pacing is everything.
Take your time with it. This is a special occasion roll, perfect for sharing and really appreciating the complex flavors of your flower.
And, as always, consume responsibly to make sure your memorable experience is also a safe one. For those who enjoy a smoother session, learning about smoking THCA pre-rolls can offer some great insights into pacing and enjoyment.
Even with the best guide, a few questions always pop up when you're trying something new. Rolling a cross joint is part art, part science, so it's completely normal to have a few things you're not sure about.
Here are some quick, straightforward answers to the most common questions we get.
You absolutely can. In fact, that's where the real fun begins. Mixing strains is one of the best ways to get creative with your roll, letting you design a custom flavor and effect profile you just can't get any other way.
A popular method is to pack the main body with one strain and the cross-arm with another. This creates a really cool, layered experience as it burns.
For a killer combo, try pairing complementary profiles. A citrus-forward Sativa in the main joint and a sweet, earthy Indica in the cross-arm can deliver a perfectly balanced session.
This is easily the biggest frustration when you're starting out. An uneven burn, also known as "running" or "canoeing," almost always comes down to two culprits: inconsistent packing or a bad seal where the joints meet.
To avoid this, make sure both joints are packed with the same firmness. If one is super tight and the other is loose, they're guaranteed to burn at different speeds. The most critical part, though, is being obsessive about sealing the intersection. Use extra gum strips to create a completely airtight seal where the smaller joint goes through the main one. A perfect seal is what forces all three ends to burn down together.
For any kind of specialty roll, you want flower that's properly cured, a little sticky, and ground to an even, fluffy consistency—not a fine powder. A high-quality, resinous THCA flower is ideal because that natural stickiness helps it pack down and hold its shape.
This gives you the structural integrity you need for both the main body and the much thinner cross-arm. If your flower is too dry and crumbly, it’ll just burn way too fast. That's not only harsh, but it'll ruin the synchronized burn you're working so hard to achieve.
Yes, but with a catch: only use a filter or crutch in the main, larger joint. A crutch gives the base some much-needed stability, makes it easier to hold, and keeps you from getting a mouthful of loose flower.
The smaller cross-arm joint, on the other hand, should not have a filter. It needs to be lit from both ends and is meant to be consumed as part of the cross structure. A filter would just block one of the burn points and completely defeat the purpose of the design.
Ready to skip the rolling and get straight to the experience? Melt offers premium, expertly crafted THCA flower and pre-rolls perfect for any session. Shop our collection of California-grown exotics today.
Your cart is currently empty.