


Free Edibles at $100 & Free prerolls at $150
Rolling a cross joint is more art than science. It’s the process of carefully joining two separate joints—one bigger, one smaller—into a cross shape. The goal? To light all three ends at once for a truly next-level experience. It's a celebrated symbol in cannabis culture, a test of skill, patience, and a guaranteed way to impress your friends. The whole thing relies on precise piercing and sealing to get the airflow right for an even burn.

Before you dive into learning how to roll a cross joint, it helps to understand why it’s so legendary. This isn’t just some gimmick. For a lot of us, mastering the cross joint is a rite of passage. It’s a perfect mix of technical skill and creative flair that elevates the simple act of rolling into something special. It's a statement, a party trick, and a nod to true craftsmanship.
The cross joint really blew up after hitting the big screen in stoner comedies, cementing its place in pop culture. That on-screen debut turned it from a niche rolling technique into a must-try for smokers everywhere.
Ever since that unforgettable scene in the 2011 classic Pineapple Express, the cross joint captured the imagination of people all over the world. But while the movie made it famous, its roots go back to the underground scene in California in the early 2000s. After the film's release, interest exploded—online searches for "how to roll cross joints" reportedly jumped by 450% between 2011 and 2015. If you want to dive deeper into cannabis industry stats, check out this analysis from payboticfinancial.com.
That DIY spirit is still alive and well, pushing brands to get more creative. Today's market reflects a demand for unique, high-quality experiences that cater to people who appreciate the craft. You can see this commitment to better sessions in everything from specialty pre-rolls like Melt's Duo to the premium flower that makes these complex rolls possible in the first place.
The cross joint isn't just about smoking more; it's about the shared experience and the admiration for the skill involved. It turns a regular session into a memorable event.
Knowing the history just adds another layer of appreciation to the process. You're not just throwing some papers and flower together; you're taking part in a tradition that celebrates creativity and skill. There are a few key reasons it’s still so popular:
So, as you get ready to roll your first one, remember you’re connecting with a piece of cannabis history. That context makes mastering the craft even more exciting.
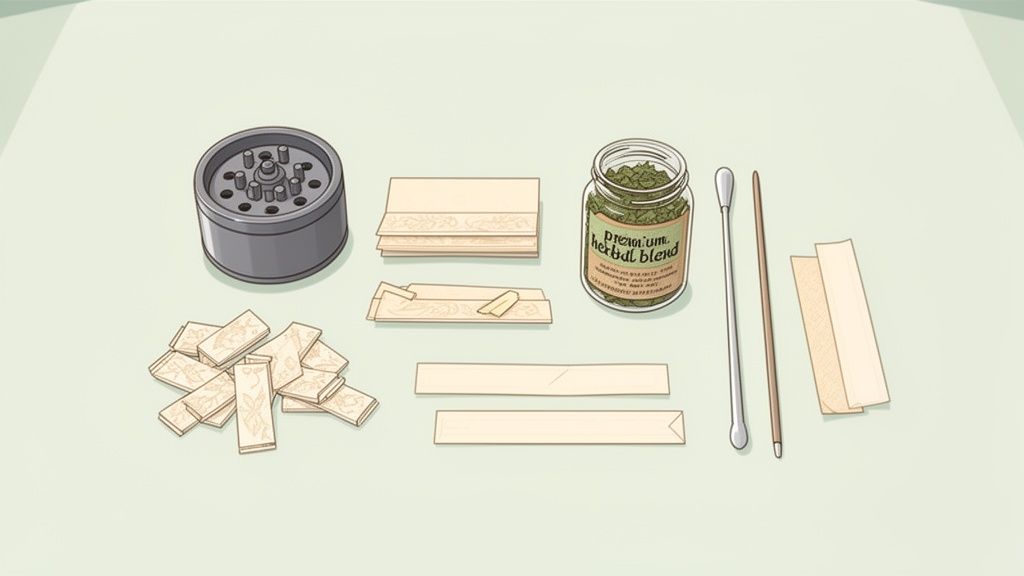
Before you even think about the fold and tuck, getting your supplies in order is half the battle. Think of it like a chef’s mise en place—having everything prepped and ready makes the entire process smoother and way more fun. This isn’t just about grabbing whatever you have lying around; each piece of the puzzle plays a role in building a stable, even-burning masterpiece.
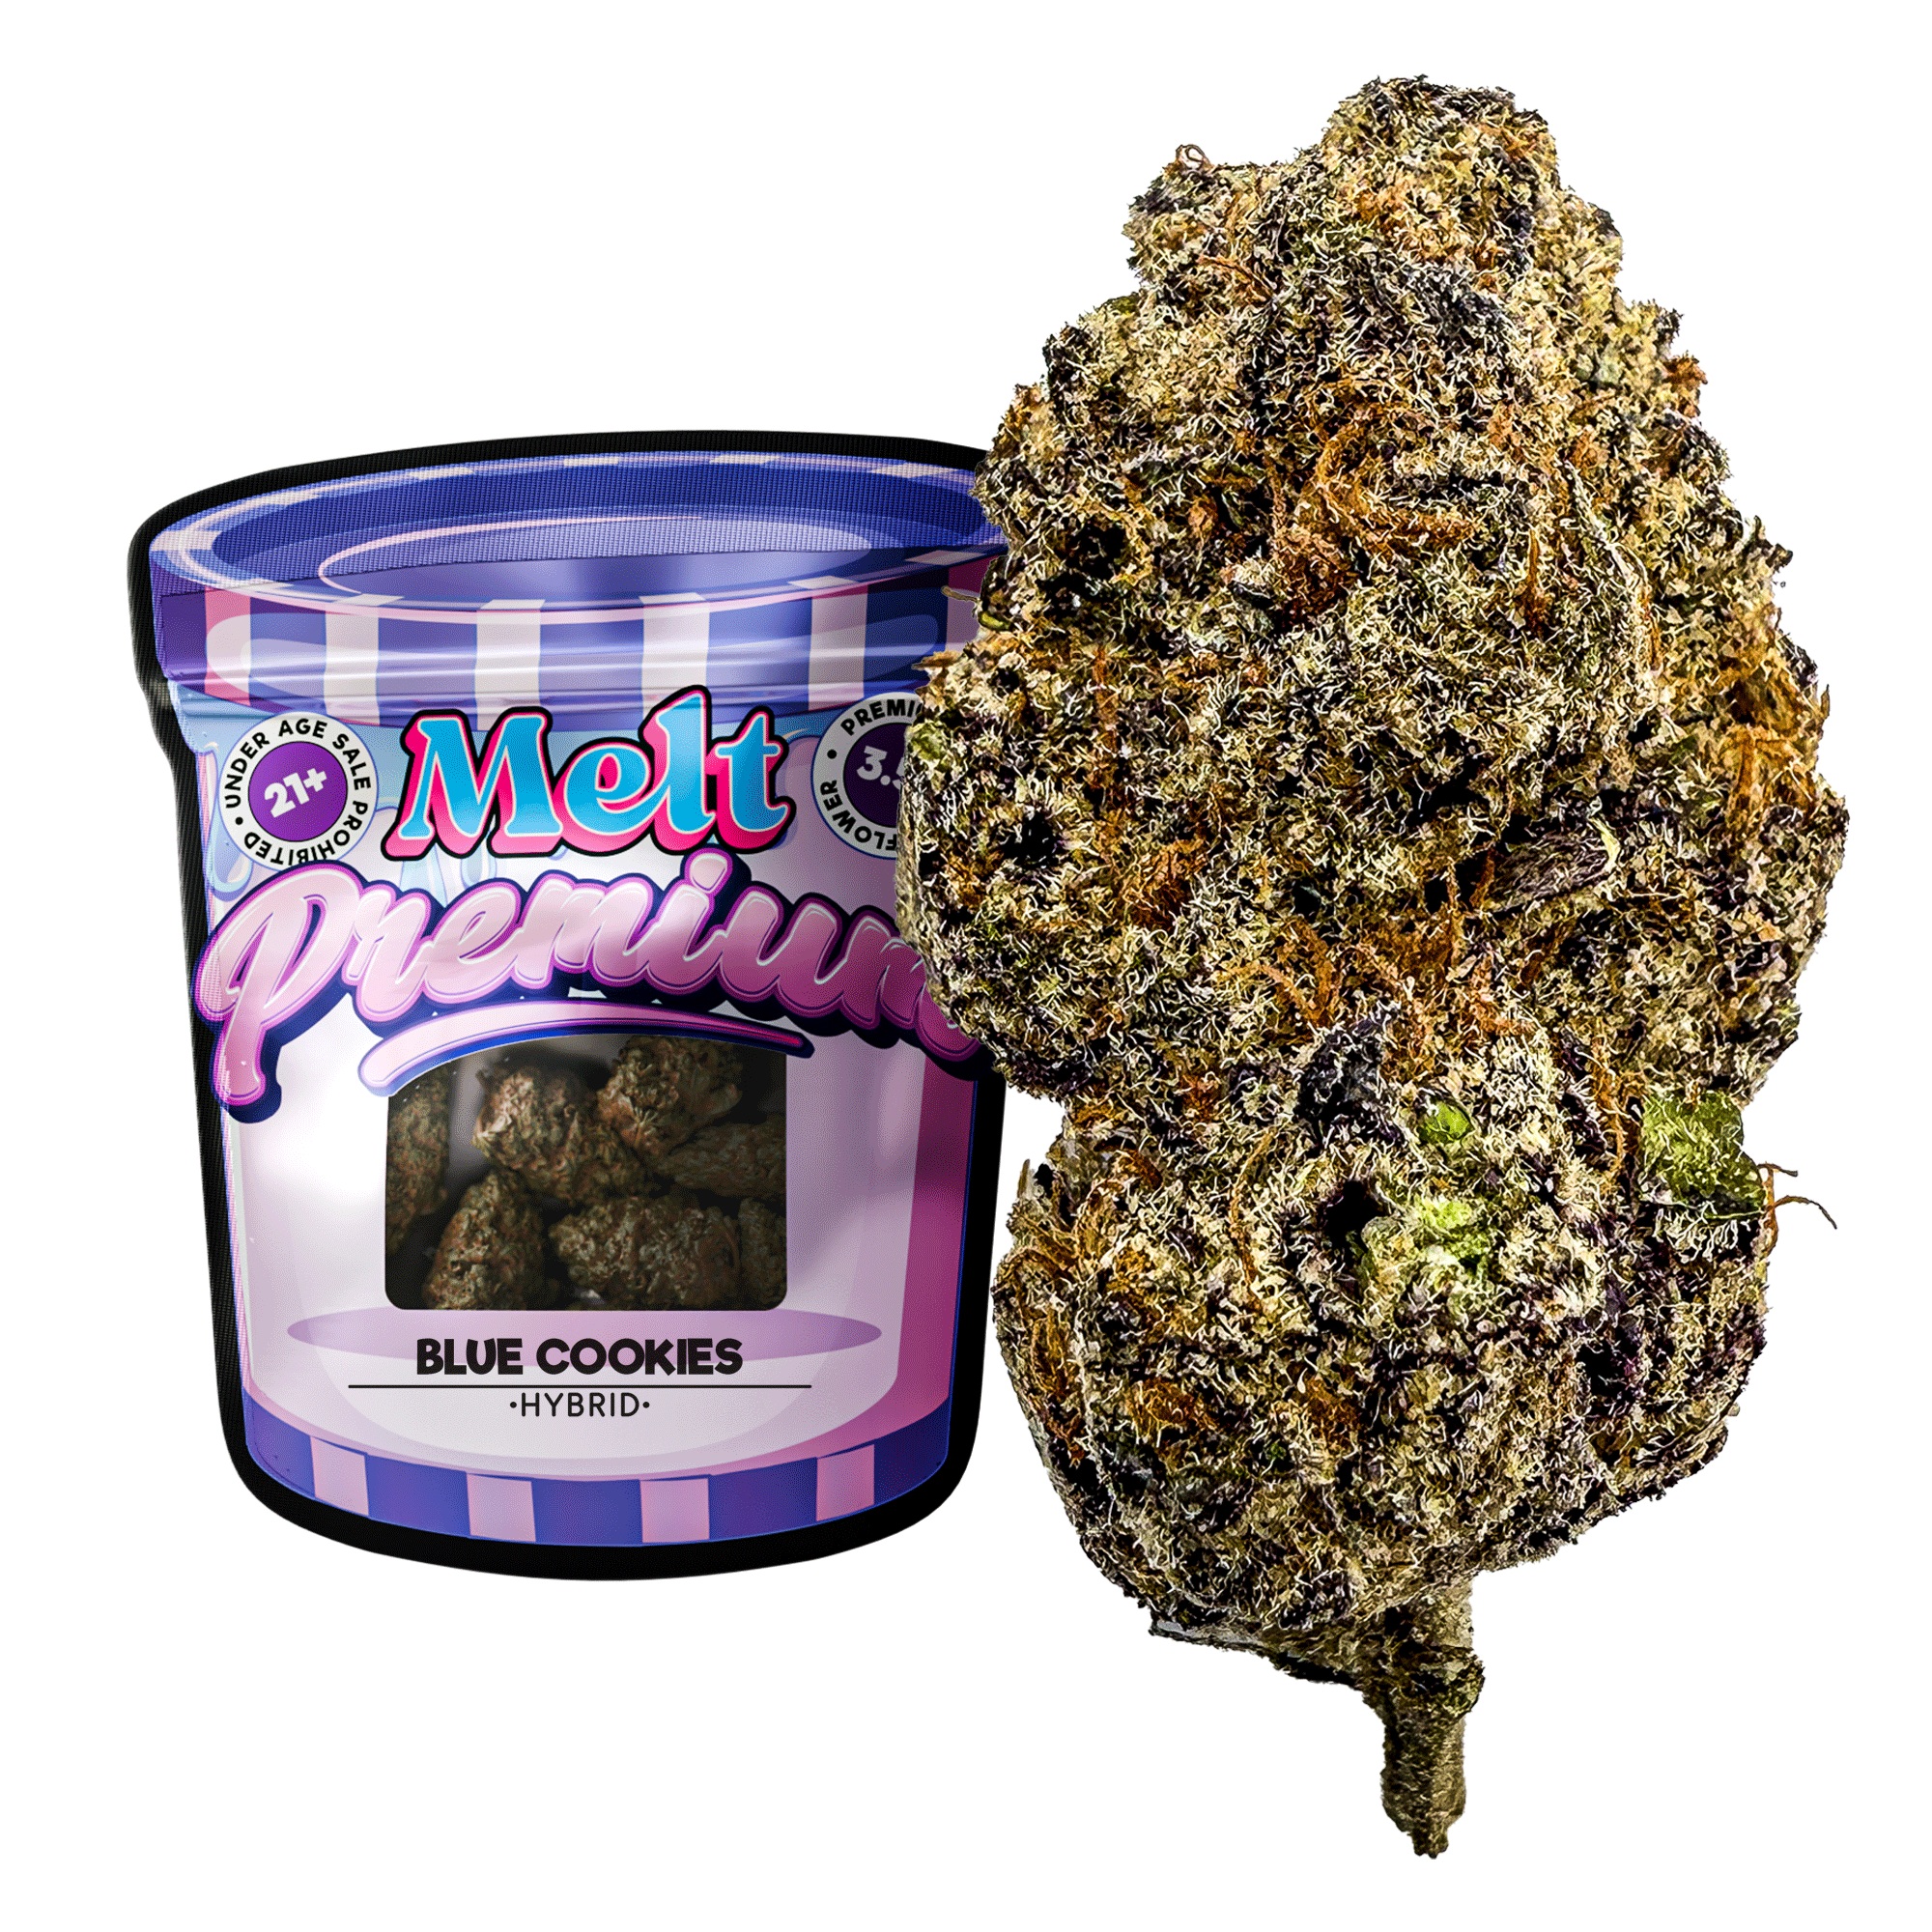
It all starts with good flower. You’re looking for a texture that’s not bone-dry or overly sticky, because that’s going to dictate everything from the grind to the pack. A premium, sun-grown THCA flower, like the kinds Melt offers, has that perfect fluffy-yet-dense consistency that’s easy to work with and tastes incredible.
The consistency of your grind is everything. If it's too fine, it’ll pack too tight and kill the airflow. Too chunky, and you’ll get air pockets that cause that dreaded canoeing effect down one side. Your target is a medium-coarse, even fluff.
A quality grinder is your best friend here. A good multi-chamber grinder won't just give you a consistent result but will also catch that precious kief for a little extra punch. If you need a refresher, our guide has some great tips on how to grind your flower perfectly every time. Nailing this step is foundational for ensuring both joints burn at the same speed.
Next up: rolling papers. For a proper cross joint, you'll need at least three of them. One for the main body, a second for the smaller cross-arm, and a third just to steal its gum strip for sealing everything up. I usually go with King-size papers for the main joint and a standard 1¼ for the cross-arm—the size difference is what makes the structure work.
You'll also want a few simple tools to make your life easier:
Having everything organized on a tray before you start is a pro move. It lets you focus entirely on the craft instead of fumbling for a tool mid-roll, which is almost always when things go wrong.
To make it even simpler, here's a quick rundown of everything you should have ready to go.
Getting your gear in order is the first step toward a perfect roll. This table breaks down exactly what you'll need and why each item is so important.
| Item | Recommended Type | Why It Matters |
|---|---|---|
| Cannabis Flower | High-Quality THCA Flower | Gives you a flavorful smoke and grinds up with a consistent, fluffy texture. |
| Rolling Papers | 1 King-Size, 1 Standard | The different sizes are crucial for creating the right proportions for the cross structure. |
| Grinder | Multi-Chamber Grinder | Delivers a uniform grind that’s essential for a slow, even burn in both joints. |
| Poker Tool | Pen or Packing Stick | You need this to carefully pierce the main joint without tearing it. |
| Scissors | Small Craft Scissors | For cleanly harvesting gum strips to create a strong, airtight seal at the intersection. |
| Filter Tip | Cardstock Crutch | Provides stability to the main joint, improves airflow, and keeps you from inhaling loose bits. |
With your toolkit assembled, you're ready to start building.
Alright, with all your gear laid out, it’s time to get rolling. First up is the main joint—the vertical body of the cross. Getting this part right is everything. Think of it as the backbone of your creation; if it's not rolled firm and straight, the whole thing will be a floppy, un-smokable mess.
Grab your King-size rolling paper and hold it lengthwise, folding it into a gentle "U" shape. This is your foundation. Start by sprinkling your ground flower evenly along the crease. For the main body, you’ll want to use about 1 to 1.25 grams to give it the sturdiness it needs.
The real magic happens in how you pack it. You're searching for that Goldilocks zone—not too tight, not too loose. If you pack it like a rock, you won't get any airflow, and it just won't light. But if it's too loose, you'll get air pockets that cause canoeing, where one side burns way faster than the other. Nobody wants that.
A good trick is to gently pinch the paper and roll the flower back and forth between your thumbs and index fingers. You'll feel the contents shaping up into a nice, consistent cylinder. You want it to feel springy to the touch, not solid.
Once you're happy with the shape, it's time for the tuck. This is where a lot of people get tripped up. Use your non-dominant thumb to tuck the edge of the paper closest to you down and around the flower. The key is to keep the pressure even all the way across as you roll it up.
With the tuck in place, lick the gum strip from end to end and seal it up. Take a second to smooth out any wrinkles or bumps. The goal is a perfectly straight, firm cylinder. Don't sweat it if your first try isn't perfect—rolling is a skill that takes practice. Honestly, it helps to master a basic roll before tackling something like this. Understanding the fundamentals is also key to appreciating a well-made pre-roll, and you can learn more about THCA pre-rolls in our guide.
Pro Tip: After sealing the joint, grab your poker tool and gently tamp down the flower from the open end. This firms up the tip and stops it from being loose and burning up too fast.
Now, set your main joint aside. Take a moment to admire it. You just finished the most critical part of the build. Getting this piece right makes the next steps a whole lot easier. Next, we'll craft the smaller cross-arm that brings the whole iconic shape together.
Okay, you’ve got the main body of your joint rolled and ready. Now for the fun part—building the signature cross arm that gives this legendary joint its name.
This smaller, horizontal piece is what makes a cross joint a cross joint. It takes a bit more finesse than your standard roll, but with a steady hand, you'll nail it.
Grab a standard 1¼-inch rolling paper. The smaller size is deliberate; you want this joint to be noticeably thinner and shorter than the main one. Getting the proportions right is the secret to both the look and the structural integrity of the final product.
You're going to repeat the same rolling process, but go easy on the flower. You're aiming for about 0.5 to 0.75 grams. A classic rookie mistake is overstuffing this piece, which makes it too fat to slide through the main joint. Keep it slim, keep it tight.
Since this joint won’t have a filter, it needs to be firm enough to hold its shape from one end to the other. Once you've licked and sealed it, put it aside. Now for the most delicate maneuver in learning how to roll a cross joint: the assembly.
The basic mechanics of any good roll—load, pack, and seal—apply here, just like they did for the main joint.
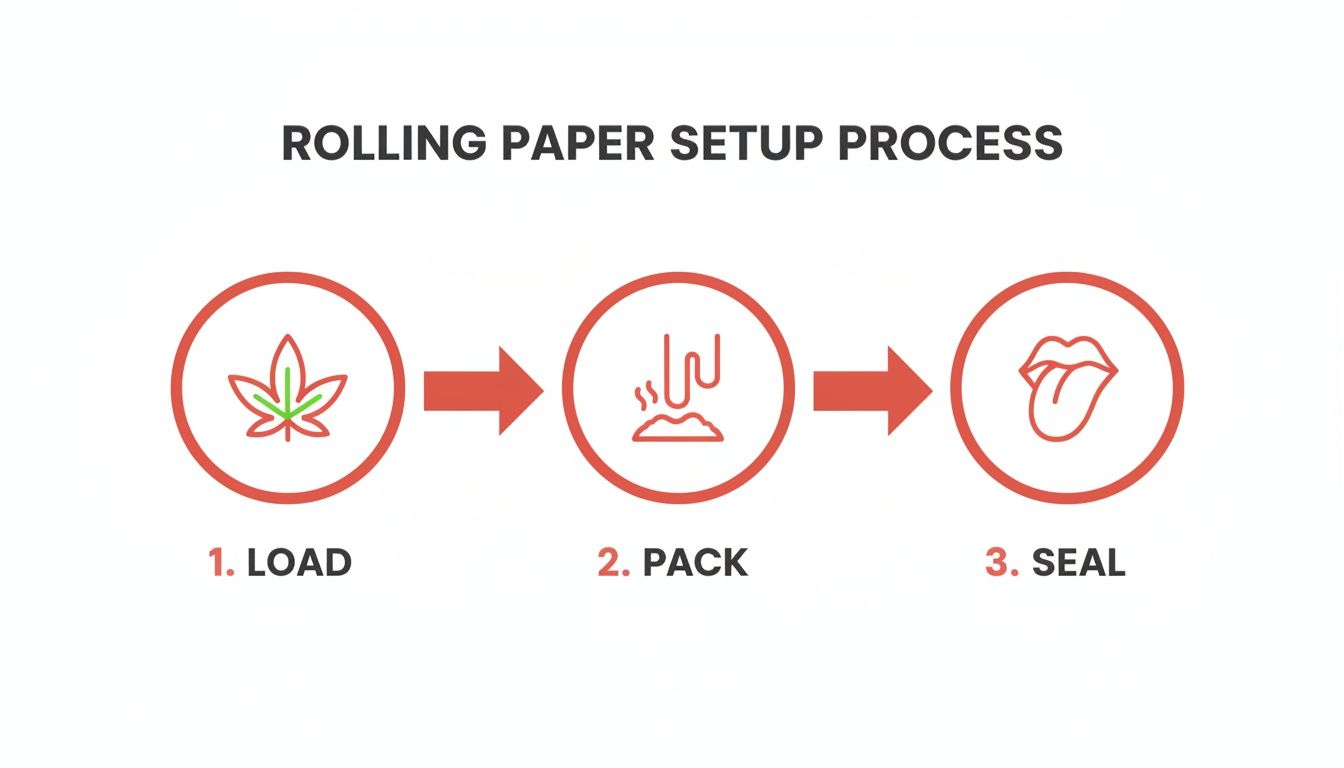
Mastering these three fundamentals ensures both parts of your cross joint have the right density for that smooth, even burn we're all after.
Pick up your main joint and your poker tool. Find a spot about three-quarters of the way up from the filter—this is where you'll make the hole.
Don't just jam the poker through. That's a surefire way to tear everything. Instead, gently twist it back and forth while applying light, steady pressure. This motion separates the flower and paper fibers cleanly instead of ripping them.
Slowly widen the hole until it’s just big enough for the cross arm to pass through. If you make it too big, you’re in for a nightmare trying to seal it later.
Take your time piercing the main joint. A clean, correctly sized hole is the difference between a functional cross joint and a leaky, frustrating mess. A slow, twisting motion is far more effective than brute force.
Once the opening is ready, carefully slide the thinner joint through it. Wiggle it gently until it’s perfectly centered, with equal lengths sticking out on both sides. It should look like a cross now. You’re almost there.
This last step is absolutely critical. If your seal isn't perfect, you’ll get air leaks, which means it won't pull right and the whole thing will burn unevenly. To get it right, you’ll need the gum strips from a couple of spare rolling papers.
The goal is to completely cover any and all gaps. Some people even add a third strip wrapped horizontally around the middle for extra security. Once everything is sealed up tight, your cross joint is assembled and ready for the final touches.
You’ve built it. Now it’s time to make sure it smokes as good as it looks. The last few steps are all about sealing the deal and mastering that iconic three-point light.
Give the intersection one last check. Gently press down on the gum strips to make sure you have a solid bond. If you see any gaps or weak spots, don’t be afraid to patch them up with another small piece of a gum strip. An airtight seal is everything—it’s the key to good airflow.
Lighting all three ends at once is what makes the cross joint legendary. It’s what creates that "trifecta of joint-smoking power" that Seth Rogen’s character so famously described.
This is way easier with a friend. Grab a partner (or two) and use multiple lighters to toast all three tips at the same time. The goal is to get them all burning at the same rate right from the start.
Flying solo? You’ve got options. You can try wielding two lighters at once, but for more control, a hemp wick is your best friend. It gives you a steady, low-temp flame, so you have plenty of time to gently toast each tip before you even think about taking a puff.
The real pro-tip here is to toast the ends before you inhale, just like you would with a nice cigar. Gently hover the flame over all three tips until they’re glowing evenly. This pre-heat prevents one side from taking off and running away from the others.
Once the tips are glowing red, bring it to your lips and take a slow, steady pull while re-applying the flame. You want all three embers burning bright simultaneously.
Even with a perfect light, one arm might start burning faster than the others. It happens.
If you see it canoeing, just gently apply a little moisture (a quick lick works perfectly) to the paper on the faster-burning side. This simple trick slows it down just enough for the other ends to catch up, saving your creation before it gets out of hand.
The cross joint’s place in culture is undeniable, thanks to its big-screen debut. Since Pineapple Express hit theaters in 2008, tutorials for rolling a cross joint have racked up over 50 million views across platforms like TikTok and YouTube. This hype drove a staggering 220% increase in specialty preroll purchases by 2025.
It’s this demand for unique, high-end experiences that has inspired products like Melt's AMF Blend devices and Duo prerolls. They’re designed for connoisseurs seeking those juicy, exotic Cali flavors that make any session—especially with a cross joint—unforgettable. You can find more details on these trends in reports like this cannabis market deep dive on mordorintelligence.com.
By focusing on these final details, you’re not just rolling a joint; you’re crafting an experience. It’s a true test of any roller’s skill, and the reward is a smooth, powerful smoke that’s as memorable as it is impressive.
Even with a perfect guide, your first few cross joints might look a little… creative. And that’s totally fine. There are a few classic fumbles everyone makes, but spotting them is the first step to rolling like a pro.
Let’s get into the most common screw-ups and how to bounce back.
A flimsy, wobbly main joint is probably mistake number one. If your foundation is weak, the whole thing is doomed. This almost always comes from under-packing the flower, leaving it too loose to hold its shape.
If it feels saggy, don’t hesitate to unroll it and start fresh. As you repack, use a poker to gently tamp down the flower, paying extra attention near the filter. You're going for a firm, solid cylinder—not rock-hard, but definitely not squishy. It should have just enough give for good airflow.
Ripping the main joint while poking the hole is another classic blunder. It’s easy to do if you get impatient or use a dull tool. Just jamming a pen through it is a surefire way to shred the paper.
The fix? Patience and a bit of finesse. Grab something sharp and thin, like a paperclip or a dedicated poker. Instead of just pushing, apply gentle pressure while twisting the tool back and forth. This slick move separates the paper fibers cleanly instead of tearing them. If you do get a small rip, you can usually patch it up with a tiny piece of gum strip before sliding the cross arm in.
The number one reason a cross joint smokes poorly is a leaky intersection. If air is escaping where the two joints meet, you won't get a proper draw, and the arms will burn all wrong. Be generous with those gum strips and seal every last gap.
Finally, you can’t skimp on the seal. A lot of beginners try to get away with one gum strip, but that’s rarely enough to lock everything down. A weak seal leads to bad airflow and a disappointing smoke session.
There’s nothing worse than watching one side of your masterpiece canoe. This almost always comes down to two things: an inconsistent pack or a lazy light. If one side of your joint is looser than the other, it’s going to burn way faster.
Think of each attempt as a practice run. By knowing what to look out for, you can troubleshoot on the fly and get one step closer to rolling a perfect cross joint every single time.
Even with a perfect guide, rolling something this ambitious for the first time is bound to bring up a few questions. It’s a bit of an art form, after all. We’ve pulled together the most common issues and queries people run into, so you can get ahead of any problems.
You'll want to set aside about 1.5 to 2 grams of flower for a solid cross joint. The trick is to divide it properly.
Plan on using 1 to 1.25 grams for the main, thicker joint and the other 0.5 to 0.75 grams for the smaller arm that slides through the middle. Using a high-quality, fluffy THCA flower will give you a much more flavorful and potent burn.
If you're curious about managing the strength of your roll, our guide on how much THC is in a single hit can help you dial in the experience you're looking for.
Yes, and you absolutely should—at least in the main joint. Adding a filter tip to the larger body of the cross joint is a game-changer. It gives the base much-needed stability, opens up the airflow for a way smoother draw, and stops you from getting a mouthful of loose flower.
The smaller, intersecting joint, on the other hand, doesn't need one. It's usually too slim to fit a crutch anyway, and since you're not drawing from its ends, it's not necessary.
The most common point of failure is a poor seal at the intersection. Always use extra gum strips to completely seal the connection. An airtight seal is the single most important factor for proper airflow.
Getting all three ends lit at once is part of the ceremony. The easiest way is to grab a friend and have them help you with a second lighter. Teamwork makes the dream work.
Flying solo? You can try wielding two lighters at once, but a hemp wick gives you way more control and a cleaner taste.
The real pro-tip here is to toast the tips first. Gently heat all three ends until they have an even, cherry-red glow before you take that first pull. This pre-heating guarantees a balanced, even burn from the very start.
Nine times out of ten, a bad draw comes down to one thing: a leaky seal where the two joints meet. Even the tiniest air gap at that intersection will completely kill your airflow. Go back and double-check that you sealed that connection tight with extra gum strips.
Another common culprit is packing your flower too tight. You want it firm, but not rock-solid. If it feels like a compressed brick, the air can't get through. It should be snug with just a little bit of spring to it.
Ready to roll your own masterpiece? For the best results, you need the best flower. Melt offers premium, sun-grown THCA flower with the perfect texture and juicy California flavors to elevate your next session. Shop our collection today.
Your cart is currently empty.