



Free Shipping All Orders Over $95
You can tell within the first few puffs when a joint was rolled with care. It lights evenly, pulls without a fight, and holds its shape instead of collapsing halfway through. A rough roll does the opposite. One side runs hot, the tip starts canoeing, the draw gets tight, and good flower turns into a frustrating session.
Most beginner guides make rolling sound like a checklist. Grind. Fill. Tuck. Lick. Done. But that isn't really how people learn how to roll a joint properly. The difference between a decent roll and a great one comes down to touch. You need to feel when the flower is distributed evenly, when the paper is starting to take shape, and when the cylinder has enough structure without becoming packed solid.
A joint doesn't fail by accident. It usually fails because one small step was off. The flower was too fine. The paper was loaded unevenly. The tuck started in the middle instead of from the filter side. The roll felt tight in your fingers, but clogged the moment you lit it.
That's why rolling is less about memorizing steps and more about building intuition. Your hands are doing several jobs at once. They're shaping the fill, controlling pressure, and creating airflow before the joint is ever lit. Once you understand that, the process gets much easier.
A clean roll has a few obvious signs:
Practical rule: If the joint looks good but feels inconsistent between your fingers, trust your fingers.
Beginners often focus too much on making the outside look pretty. Appearance matters, but airflow matters more. A slightly imperfect-looking joint that burns evenly is a better roll than a flawless-looking one that won't draw.
Fast rolling looks impressive, but speed hides mistakes. Good rollers usually move slowly through the important moments. They pay attention while grinding, while building the crutch, and especially while tucking. Those are the stages where most problems begin.
Think of the process as shaping a breathable cylinder, not stuffing flower into paper. That shift in mindset changes everything. Once you start rolling for airflow instead of just containment, the results improve quickly.
The easiest way to make rolling harder is to start with bad prep. You don't need a huge setup, but you do need a few basics that help you control consistency.

At minimum, use:
The grinder matters more than people think. Hand-broken flower usually leaves you with chunks, stems, and uneven density. If you want a closer look at texture and consistency, this guide on how to grind weed properly is worth reading before you roll.
The most important prep variable is grind consistency. According to Verona Collective's guide to rolling a joint, the key to a proper roll is a fluffy grind, and flower that's ground too finely can pack too tightly and block airflow. The same guide notes that a standard joint typically uses about 0.5 to 1.0 gram for proper airflow and burn consistency.
That range matters because paper size and flower density work together. Too little material leaves the paper loose and unstable. Too much in a standard paper can choke the roll and encourage an uneven burn.
A good grind should feel airy between your fingers. Not dusty. Not pebble-like. Think loose, even pieces that can settle together without compressing into a plug.
If the flower clumps like powder, the joint will often draw poorly. If it drops into the paper in hard chunks, one side usually burns faster than the other.
This walkthrough gives a useful visual for hand position and setup:
Use this simple checklist before the paper ever leaves the tray:
| Check | What you want |
|---|---|
| Texture | Fluffy, even, not powdery |
| Amount | Enough to form structure without overfilling |
| Surface | Clean and flat so the paper stays controlled |
| Paper choice | A paper size that matches the amount you're rolling |
When people say they “can't roll,” it's often not a hand-skill problem. It's a prep problem that shows up later.
The crutch and fill stage decides whether the final tuck will feel smooth or awkward. If this part is sloppy, the roll usually fights you the whole way through.

A crutch does more than keep loose flower out of your mouth. It gives your fingers a firm anchor point. That makes the tuck easier because one end of the joint already has shape.
You can make one by folding a few small bends into one end of the tip material, then rolling the rest around it into a spiral or W-style core. The exact shape matters less than the result. It should feel snug, round, and firm enough not to collapse during the roll. If you want a detailed walkthrough, this guide on how to roll a filter covers the mechanics well.
Once the crutch is in place, lay the paper on a clean flat surface with the adhesive side up. Zig-Zag's rolling guide recommends forming the ground flower into a canoe shape and then tucking the non-adhesive edge over the cannabis while applying steady pressure.
That canoe shape is useful because it pre-forms the body of the joint. Instead of dumping flower in a random line, you're creating a centered bed that will roll into a cylinder more naturally.
A few habits make this stage cleaner:
Most rolling problems don't start during the lick and seal. They start here, when the fill is uneven and the paper has to compensate for it.
Patience pays off at this stage. If the flower is sitting evenly in the crease and the crutch is stable, the tuck starts to feel much less intimidating.
Confidence is often either solidified or falters during this step. The tuck isn't a force move. It's a control move. You're guiding the paper under a shaped line of flower, not trying to squeeze everything into submission.

Before you try to close the paper, use your thumbs and index fingers to gently rock the paper back and forth. This settles the flower into a more consistent cylinder. The goal isn't to compress hard. It's to help the material find its shape.
Start from the crutch side and work toward the tip. That keeps the body of the joint aligned and gives you a stable point to roll against.
The actual tuck should be deliberate. Use your thumbs to guide the front edge of the paper under the shaped flower line, then roll upward toward the adhesive strip. If you try to tuck everywhere at once, the paper wrinkles and the cylinder warps.
A useful way to think about it is this: the flower should feel held, not trapped. Too much pressure flattens the roll and kills airflow. Too little pressure leaves hollow gaps that burn unevenly.
Try Cannavine's expert guide describes the Feel Test as the benchmark for a properly packed joint. The rolled cylinder should feel firm but still have a slight spring when gently pinched. That spring tells you the density is right for airflow.
Here's a fast way to read what your hands are telling you:
| What you feel | What it usually means |
|---|---|
| Soft and lumpy | The fill is uneven or too loose |
| Firm with slight give | Good structure and likely good airflow |
| Rigid and dense | Over-packed, likely hard to draw |
A well-rolled joint should answer your fingers before it answers the lighter.
Once the cylinder feels right, moisten the adhesive strip lightly and roll the paper shut. A small amount of moisture is enough. Too much can wrinkle the paper, weaken the seam, or make the outside tacky.
After sealing, run your fingers gently along the body of the joint to smooth the distribution. Twist the open tip to close it if you want a cleaner finish or plan to carry it before lighting.
The best seals look almost effortless. That's usually because the shape was already correct before the glue ever touched the paper.
A joint that canoes, clogs, or burns hot isn't being random. It's giving you a diagnosis. Once you read the symptoms correctly, the next roll gets better fast.

One of the most common myths is that uneven burning just happens. It usually doesn't. The issue is often poor distribution, air gaps, or too much compression in one section. Realm of Caring notes that canoeing occurs in approximately 60% of poorly rolled joints due to gaps or over-packing that restricts airflow.
If one side consistently burns ahead of the other, look at your prep and your tuck. The flower probably wasn't distributed evenly, or the paper tightened more on one side during the roll.
One of the smartest habits to add is checking airflow before the joint is lit. Takoma Wellness highlights the value of dry-pull validation and notes that the draw should feel like easy resistance, like sipping from a regular straw.
That test tells you a lot:
Don't wait for the lighter to reveal a bad roll. A dry pull catches the problem while you can still fix it.
Mistakes are useful. They show you whether the issue came from texture, fill, pressure, or seal.
Once your standard roll feels consistent, you can start experimenting with variations. Cones are easier for some hands because the paper shape does part of the work for you. King-size papers give you more room to manage distribution, but they also punish uneven filling more noticeably.
Another idea worth knowing is the no-pack approach. A Vocativ video on professional rolling technique describes an emerging view among experienced rollers that if you need to pack a joint after rolling, you're probably compensating for poor distribution during the fill. In practice, that means focusing more attention on building an even body from the start instead of relying on heavy post-roll tamping.
The no-pack style tends to work well when:
If you prefer extra assistance while learning, using a rolling device can help you understand shape and pressure. This guide on how to use a weed roller can be useful if hand-rolling still feels awkward.
Can you roll without a crutch?
Yes, but a crutch gives the joint structure and makes the roll easier to control.
Should you always twist the tip?
Not always. It's convenient for transport and clean storage, but it's optional.
How much should a beginner smoke?
Start low and go slowly. Potency varies a lot by flower and individual tolerance.
Cannabis laws also vary by location. Only consume where it's legal, only if you're of legal age, and avoid driving or operating machinery after use. If you're new to smoking or trying a stronger flower than usual, pace yourself and give the effects time to settle before taking more.
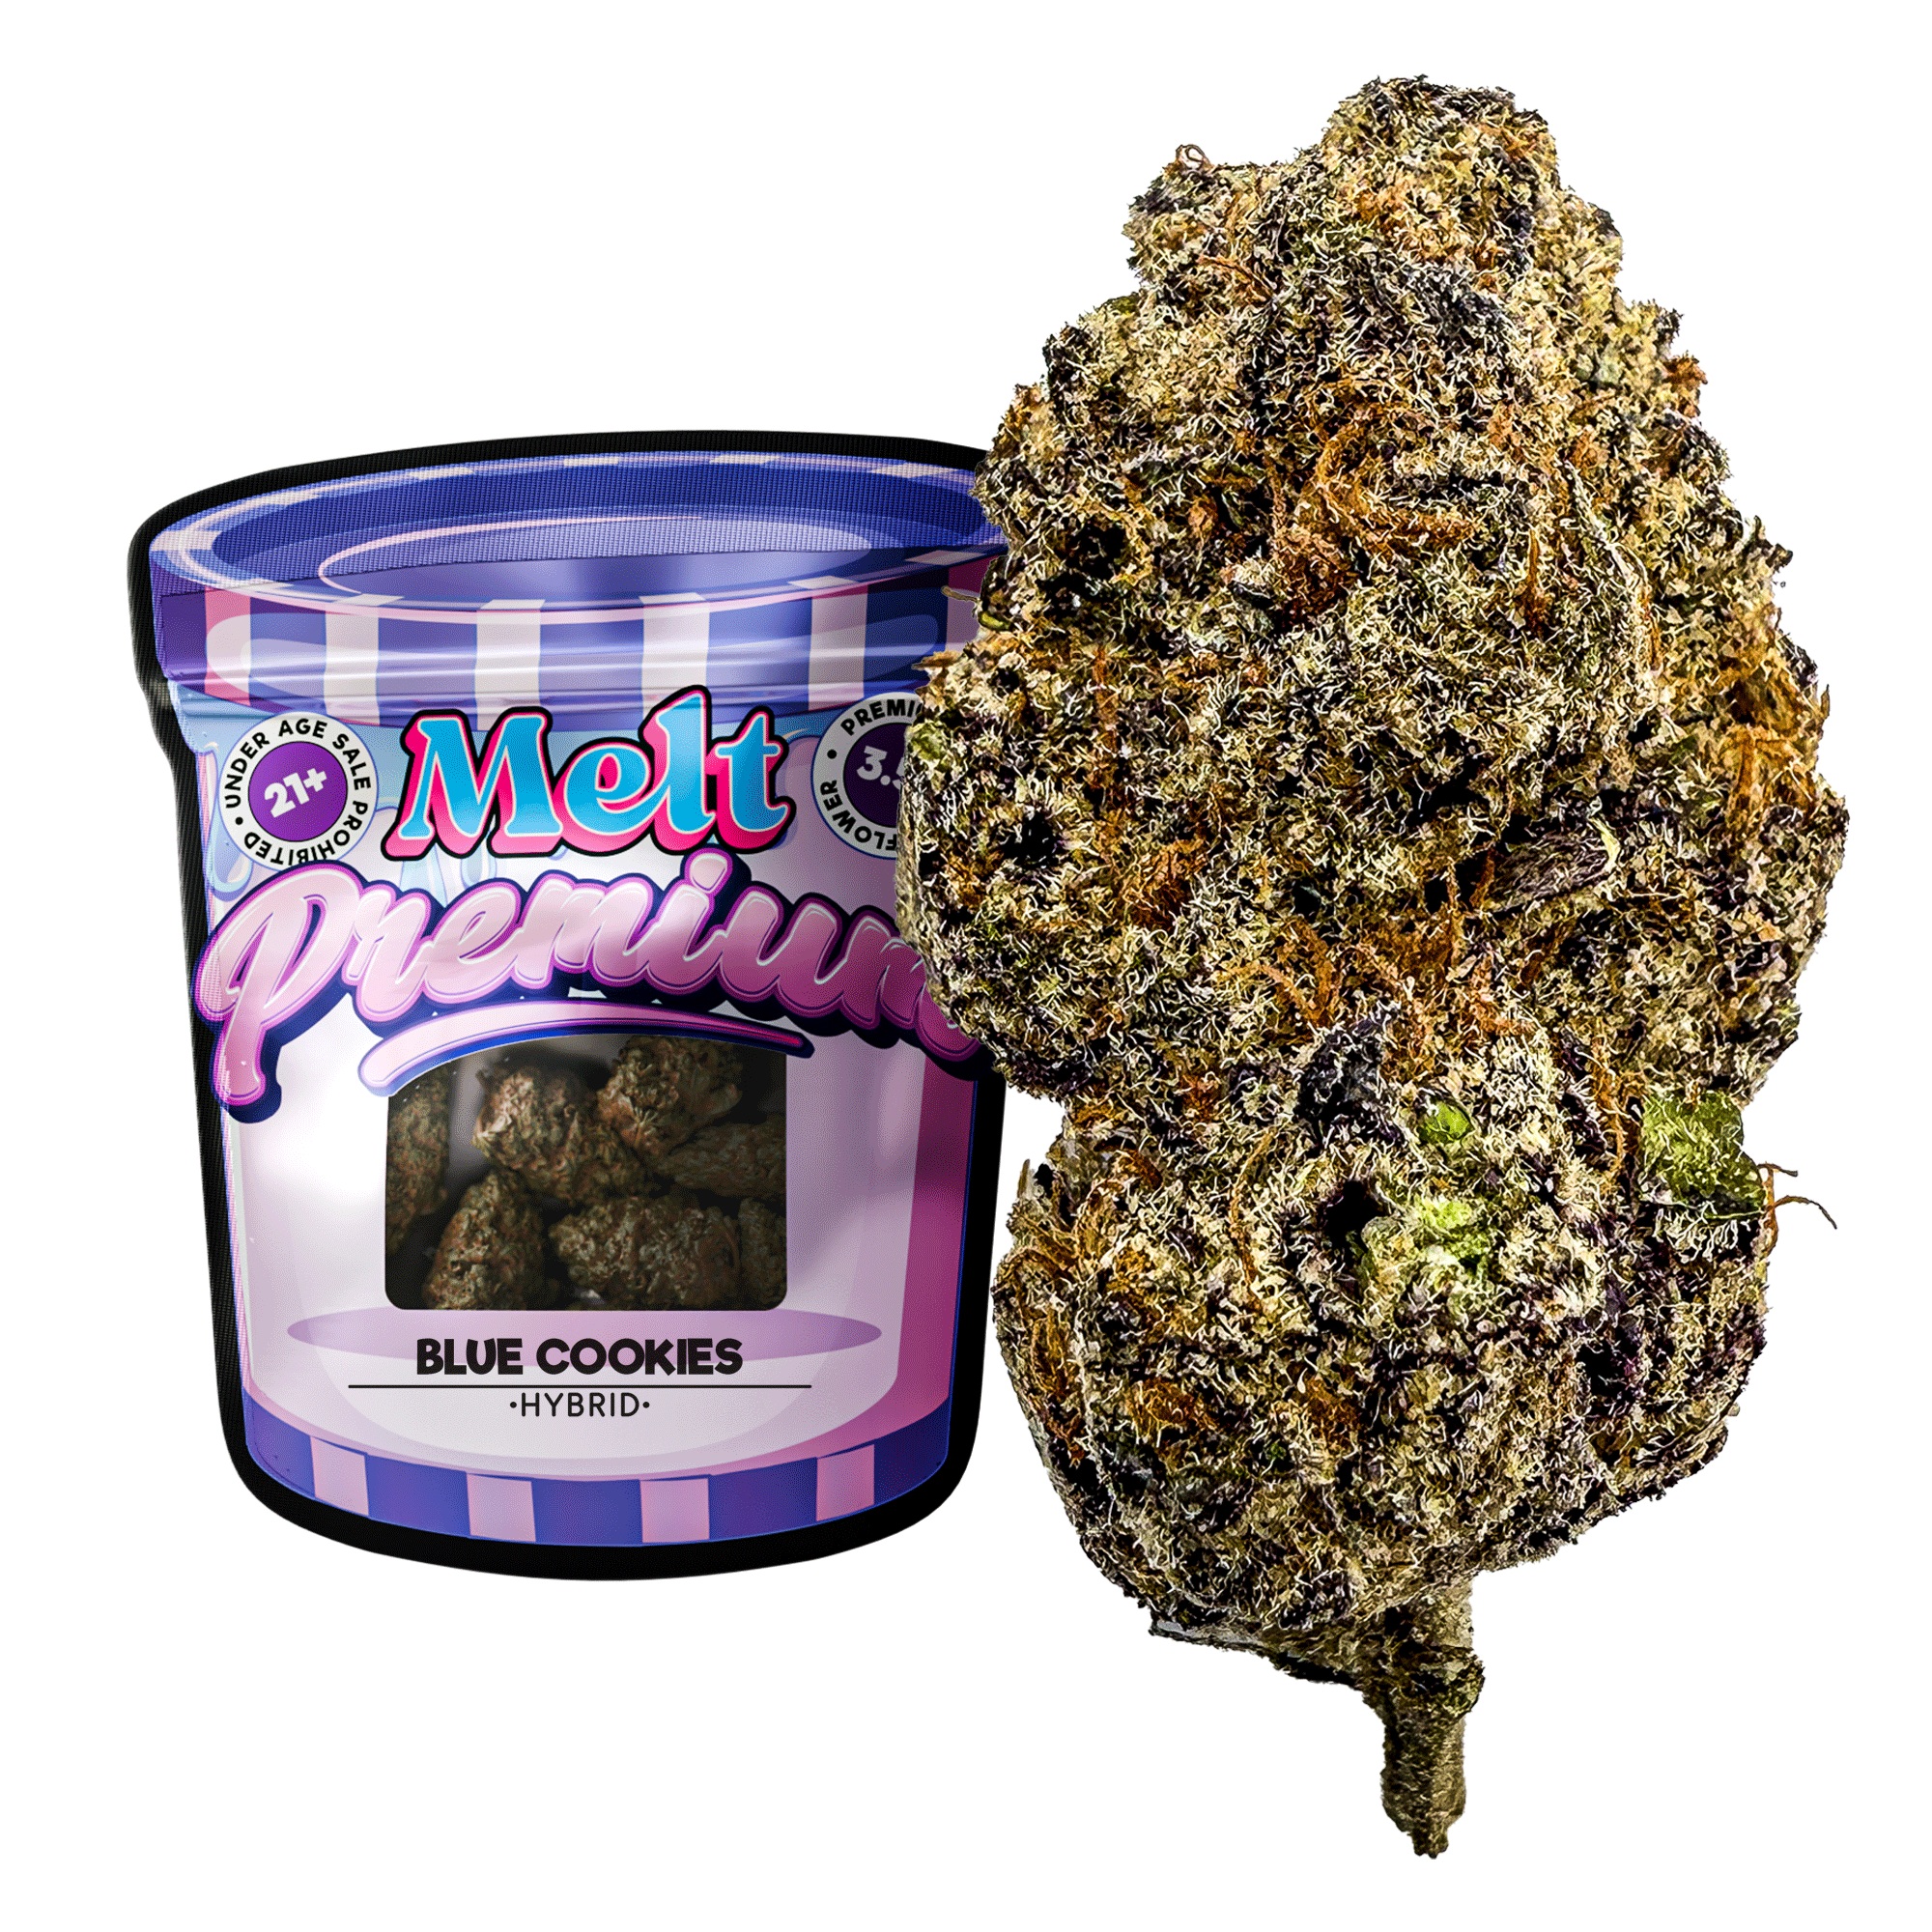
If you want premium flower for practicing your roll or ready-to-enjoy options like prerolls, Melt offers a polished lineup of legal hemp-derived products with third-party testing, strain-forward flavor, and a compliance-first approach built for adult consumers.
Your cart is currently empty.