


Free Edibles at $100 & Free prerolls at $150
Learning how to roll a cross joint is a true rite of passage for any rolling enthusiast. It’s all about crafting two separate joints—one big, one small—and then artfully joining them into that iconic cross shape.
Popularized in stoner cinema, this multi-pronged masterpiece allows you to light all three ends at once for a seriously memorable smoke session. It takes a bit of patience and the right supplies, but trust me, nailing the technique is incredibly rewarding.

Before you dive in, gathering the right tools is key. A little prep work goes a long way, and having everything laid out saves you from fumbling around when you get to the tricky assembly steps.
Think of this as your pre-flight checklist. The quality of your materials, from the flower to the papers, will make or break the final product’s burn, taste, and structure. A good workspace is the first step toward a masterpiece.
Here is a quick checklist of the essential supplies you'll need to successfully craft a cross joint, complete with pro-tips for the best results.
| Item | Quantity | Pro-Tip |
|---|---|---|
| High-Quality Flower | ~1.5 grams | Go for a premium THCA flower with a slightly sticky feel. This helps it pack better and burn more slowly. |
| Rolling Papers | 3-4 | Use a king-size paper for the main body and a smaller 1¼-inch paper for the cross beam. Keep extras handy for sealing. |
| Grinder | 1 | A fine, consistent grind is crucial. You want a fluffy, even consistency—not powder. |
| Poker or Needle | 1 | A thin, sharp tool like a darning needle, paperclip, or a dedicated poker is a must for piercing the main joint. |
| Crutch/Filter Tip | 1 | A small piece of firm paper or a pre-made filter gives the mouthpiece much-needed stability. |
| Rolling Tray | 1 | A tray keeps your space clean and catches any flower that escapes during the process. No waste here. |
Once you have these items ready, you're good to go. The U.S. cannabis market just keeps growing, which means high-quality materials are easier than ever to find for enthusiasts looking to perfect their craft.
If you find hand-rolling a little challenging, a machine can be a lifesaver for creating consistently perfect joints for projects like this. You might want to check out our guide on using an automatic joint roller machine to get the base joints just right.
The secret to a solid cross joint isn't just in the final assembly—it's in prepping the two core components. You’ve got the main beam, which is your sturdy foundation, and the slender cross beam that intersects it. Think of it like building an airplane: you perfect the fuselage and the wings separately before bringing them together for flight.
First up is the main beam. This is essentially a well-rolled, king-sized joint that will serve as the backbone of your creation. You want it packed just right—firm enough to hold its shape, but not so tight that you can't get any airflow.
Grab your king-size paper and a filter tip (or crutch). Don't skip the crutch on this one; it’s non-negotiable. It adds crucial stability and keeps the mouthpiece from getting crushed while you're performing the delicate surgery of adding the cross beam.
Next, let's talk about the grind. For your THCA flower, you’re looking for a medium-coarse consistency. It should be fluffy, but not a fine powder. If you grind it too much, you'll end up with dust that clogs the joint, making it hard to pull and ruining the experience. If you need a quick refresher, check out our guide on how to grind your flower perfectly.
Spread the ground flower evenly across the paper, using about 70-80% of your total material for this main beam. As you roll, gently tuck and shape it, making sure the density is consistent from the filter all the way to the tip. A lumpy roll is the number one reason a joint "canoes," or burns unevenly down one side.
Pro Tip: Once you've rolled the main beam, gently roll it between your fingers. This little trick helps smooth out any dense spots and gives you that uniform pack you need for structural integrity.
Alright, time for the cross beam. This part takes a bit more finesse. You'll use a standard 1¼-inch paper and the rest of your flower to create a much thinner joint. And this one gets no filter.
The goal here is to roll it as tightly as you can without completely choking off the airflow. Because it’s so thin, it can get flimsy fast. Take your time and focus on creating a dense, straight cylinder. It needs to be firm enough to be pushed through the main beam later without bending or breaking on you.
Set them side by side and inspect your work. You should have one thick, filter-tipped joint and one thin, filter-less one. The main beam should feel solid, and the cross beam should be compact and straight. Getting these two foundational pieces right makes the tricky assembly process a whole lot smoother.
This is where the magic happens—where a little bit of art meets engineering. You've got your main beam and your cross beam rolled and ready. Now comes the most delicate part of the whole operation: creating the intersection.
Take a deep breath and be patient. Rushing this step is the fastest way to tear a paper and send you right back to square one.
First, you need to create the pathway. Grab your main, thicker joint and eyeball a spot about three-quarters of the way up from the filter. This placement is key—it ensures all three ends have enough real estate to burn down evenly toward the middle.
Once you've picked your spot, it's time to make a hole. You'll need something thin and sharp for this. A straightened paperclip, a darning needle, or even a dedicated poker tool will do the trick perfectly. The secret is to start small.
Take your time here. A clean, perfectly sized hole is the foundation of a structurally sound cross joint. It’s always better to gradually expand the opening than to tear it and have to start over.
This hands-on skill is becoming more and more appreciated as the cannabis industry continues to expand. In fact, cannabis industry employment is expected to climb significantly through 2025, opening up all sorts of opportunities for skilled artisans and professionals.
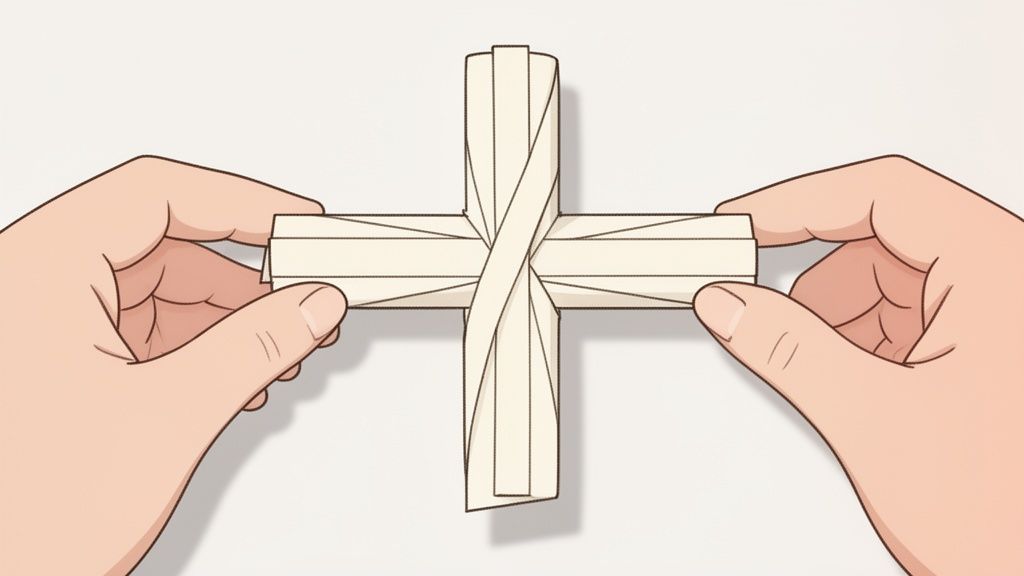
The infographic below gives you a quick visual of how your two main pieces should look before you bring them together for this critical step.

As you can see, starting with two well-crafted, distinct pieces—the larger main beam and the smaller cross beam—is what sets you up for a smooth assembly.
Alright, time for the final move.
Hold the main joint steady and carefully guide one end of your thin cross beam into the hole you just made. Think of this as a gentle push-and-twist motion, not a forceful shove.
Slightly twist the cross beam as you push it through. This corkscrew action helps it navigate the packed flower inside without snagging the paper. Keep going until it’s perfectly centered, with equal lengths sticking out on both sides.
And that's it. You've successfully assembled the core structure.
You’ve done the hard part—piercing and threading—but don't get ahead of yourself. An unsealed cross joint is basically an invitation for disaster. Those tiny gaps around the intersection will pull in too much air, causing it to burn unevenly and maybe even fall apart mid-session. Nobody wants that.
This final step is what separates a frustrating attempt from a flawless masterpiece. Creating an airtight seal ensures all three ends burn down in perfect harmony, meeting at the center exactly as intended. Think of it like a finishing touch that guarantees the whole thing holds together.
To pull this off, you’ll need some gum strips from your spare rolling papers. They act as little bandages to reinforce the joint.
Carefully tear or cut the gummed edge off a spare rolling paper. It’s a good idea to have a few of these ready to go. The adhesive is just activated by a little moisture, so a light touch is all you need.
Start by wrapping one strip diagonally around one "shoulder" of the joint, where the smaller piece meets the main body. Lick the strip lightly and press it down firmly to create a seal.
Next, grab another strip and apply it on the opposite shoulder. You’re basically creating an "X" pattern with the gum strips. This crisscross application adds a surprising amount of strength.
Crucial Takeaway: The goal is a complete, airtight seal around the entire intersection. If you see any visible gaps or feel any looseness, just add another small piece of gum strip to patch it up. An even burn depends entirely on this seal.
Repeat this on the other side of the joint, using two more strips to form another "X." You should now have four gum strips holding the whole intersection securely in place. The finished structure should feel solid and stable, not flimsy.
Before you celebrate, it's time for a quick quality check. Gently hold the unlit cross joint to your lips and take a light, dry pull. You’re listening for any tell-tale whistling sounds.
A whistle means you have an air leak. If you hear one, just inspect the sealed area closely and apply another tiny patch of gum strip over the spot you think is leaking. Keep testing until the draw feels smooth and silent, just like a normal, well-rolled joint.
This final check is the key to mastering a cross joint that not only looks impressive but actually delivers. As more people get into cannabis craftsmanship, the demand for high-quality products and accessories just keeps growing. It's a trend that's also reflected in state economies, where tax revenues from cannabis sales are becoming a major income stream. You can find more insights on the U.S. cannabis market over at Technavio.
Once your seal is airtight and the structure feels solid, your creation is officially complete. You've navigated the tricky parts and are ready for the best part of the process.
You’ve built it. You’ve sealed it. Now, it’s time to take your cross joint from a cool party trick to a legendary experience. The real art isn't just in the roll—it's in the final execution.
Mastering the light and getting creative with your flower is what separates the novices from the pros. Let's get into it.
The most satisfying part of a cross joint is that initial light. As James Franco so eloquently put it in Pineapple Express, "What you do is you light all three ends at the same time." This isn't just for show—it creates a perfect trifecta of airflow that converges into one incredibly smooth, powerful hit.
Getting all three ends going at once is a bit of a challenge with only two hands, so don't be a hero. Your best bet is to grab a friend.
Pro Tip: Treat the lighting process like toasting a good cigar. Don't just torch it. Take small, quick draws to establish an even burn across all three ends. This is key to preventing one side from burning down faster than the others.
A cross joint is the perfect canvas for a custom blend. Why settle for one strain when you can create a layered experience?
Think about packing a stimulating Sativa in the main beam for an uplifting head high, with a relaxing Indica in the cross beam to introduce a calming body effect as it burns down. This "strain layering" creates a session that evolves with every puff. For example, pairing a bright, citrusy Sativa like our premium indoor THCA flower with a sweet, earthy Indica creates a flavor and effect profile you won't soon forget.
Even the most seasoned rollers run into issues. Here’s how to handle them.
Knowing how to roll a cross joint is one thing, but perfecting the smoking experience is what it's all about. These advanced tips will ensure your creation not only looks incredible but delivers a flawless session every single time.
Even with a perfect tutorial, building your first cross joint can bring up a few questions. It’s a unique design, and like any craft, mastering it comes with a bit of troubleshooting. Let's break down the most common issues people run into.
Think of it this way: knowing the "why" behind each step makes the "how" a lot easier.
You’re looking for a paper that’s thin but tough. Hemp or rice papers are usually the best bet because they burn slow and clean, so you’re tasting your flower, not the paper.
The real trick is using two different sizes. Grab a king-size paper for the main joint—you'll need the extra real estate. For the smaller arm that goes across, a standard 1¼-inch paper works perfectly. The most critical factor here is strength; a flimsy paper is just going to rip when you start poking holes and fitting the pieces together.
The dreaded "canoe." If one side of your joint is burning way faster than the other, it’s almost always one of three things: a loose pack, an air leak, or you lit it wrong.
First, check your work. Did you pack the flower consistently through both joints? Any soft spots will cause a burn issue. Next, inspect the seal where the two joints meet. Those little gum-strip "bandages" have to be completely airtight, or one side will get too much oxygen and race ahead. Finally, how did you light it? All three tips need to catch fire at the exact same time.
A super common mistake is lighting the tips one by one. Grab a friend and use two lighters to get all three ends glowing simultaneously. It makes a world of difference for an even, synchronized burn right from the start.
Yes, but with a big catch: only in the main joint. Putting a crutch in the mouthpiece of the bigger joint is a must. It gives the whole thing stability, makes it easier to hold, improves airflow, and stops you from getting a mouthful of flower.
But you absolutely cannot put filters in the ends of the smaller, horizontal joint. Those two ends need to be open to let air pull through, which is what makes the whole three-point burn work. A crutch there would just block the airflow and kill the effect. And if the smoke ever gets too intense, it’s always good to know how to get rid of a high fast and take a quick breather.
This is a great question. Go grab a legal herbal smoking blend. Things like mullein, raspberry leaf, or even lavender have a texture that’s pretty close to ground flower.
It’s a cheap, no-pressure way to get the hang of packing, rolling, and sealing that tricky intersection. Once you can roll a perfect herbal cross joint, you'll be ready to graduate to the good stuff.
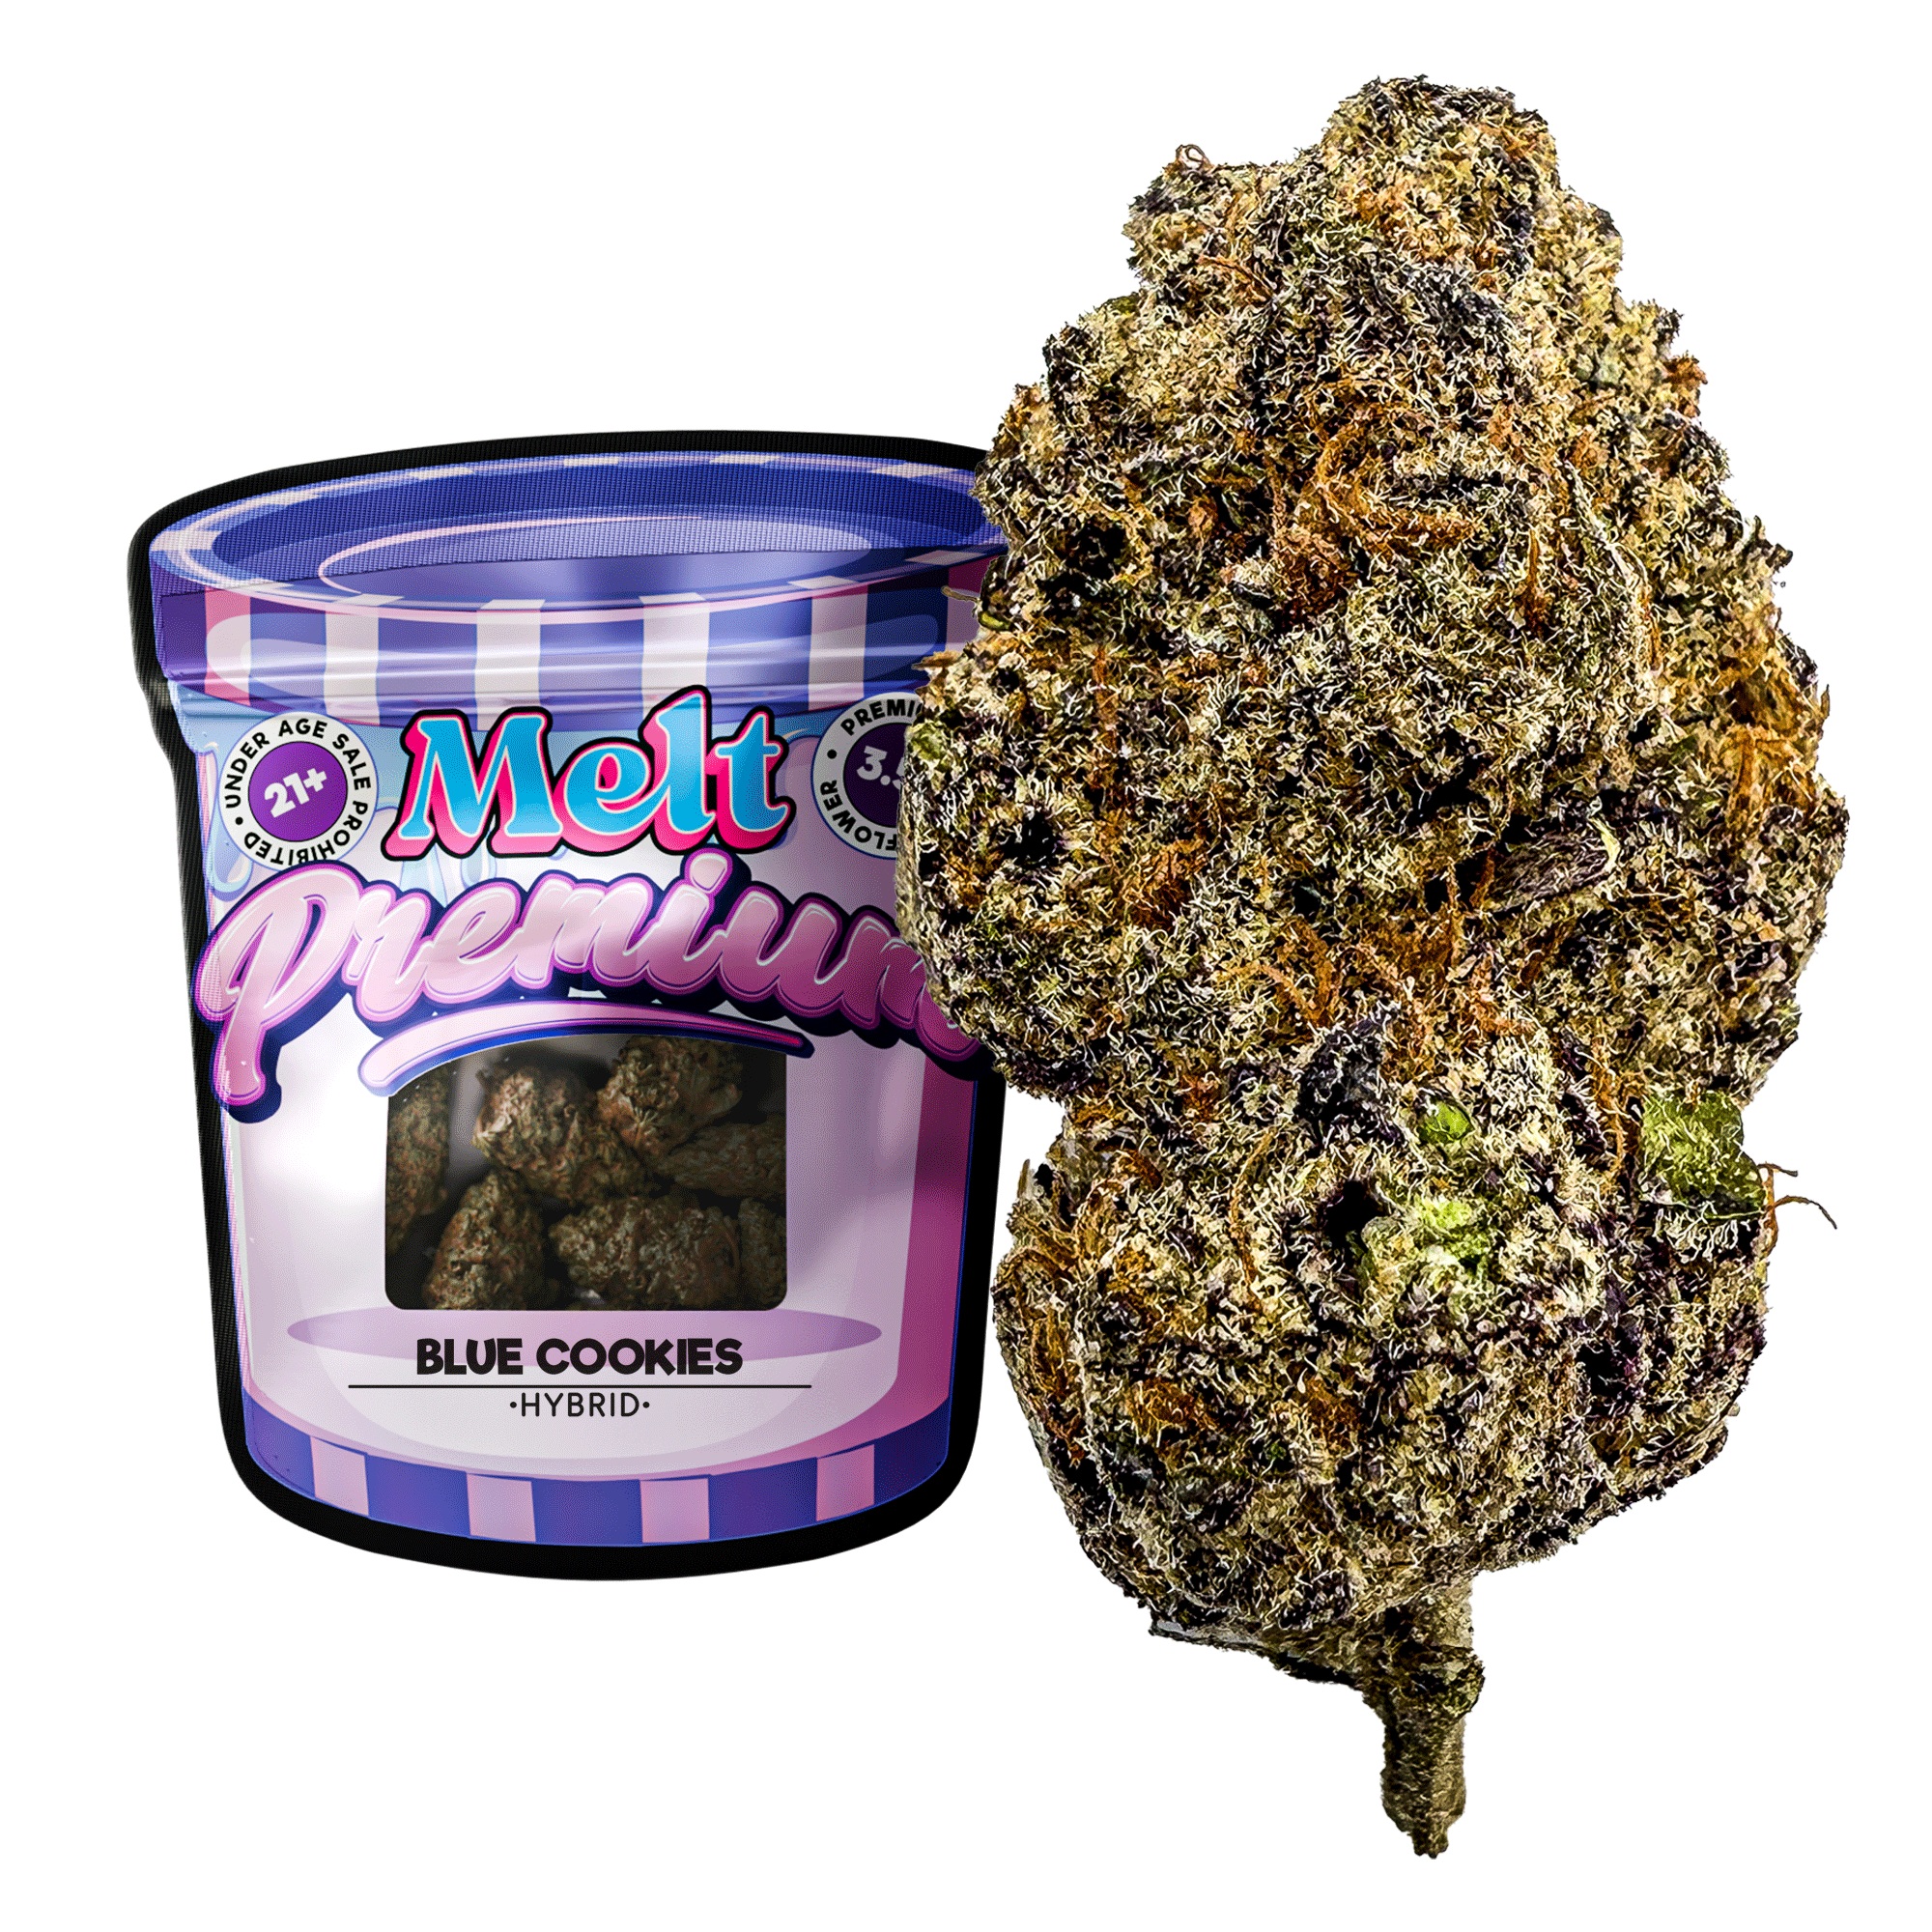
At Melt, we believe in elevating every session with top-tier products. For your next masterpiece, explore our selection of premium, lab-tested THCA flower, expertly grown to deliver rich flavor and potent effects. Shop our full collection today.
Your cart is currently empty.